
How to Make Blackout Window Covers for a Campervan

Before we could set off on our maiden van voyage, we knew we needed some quality blackout curtains. Not only are these great for privacy at night but they also serve as insulation during hot days or chilly nights… as well as general safety from any creepers!
We found a few websites that sell a full set of window covers but are a bit pricy. We decided we could save a lot of money with a little more expenditure of our time and do it ourselves with the help of my mom!
DIY Instructions and material list below are for 2 small back windows and 2 large side windows. We used black fabric on the outside, Reflectix in the middle, and white fabric on the inside to better match our van interior. The inside can be whatever color or design that you want! We also decided to use magnetic tabs to hold the window covers up because our campervan windows are metal.
Materials Used:
Matte Board for a Template
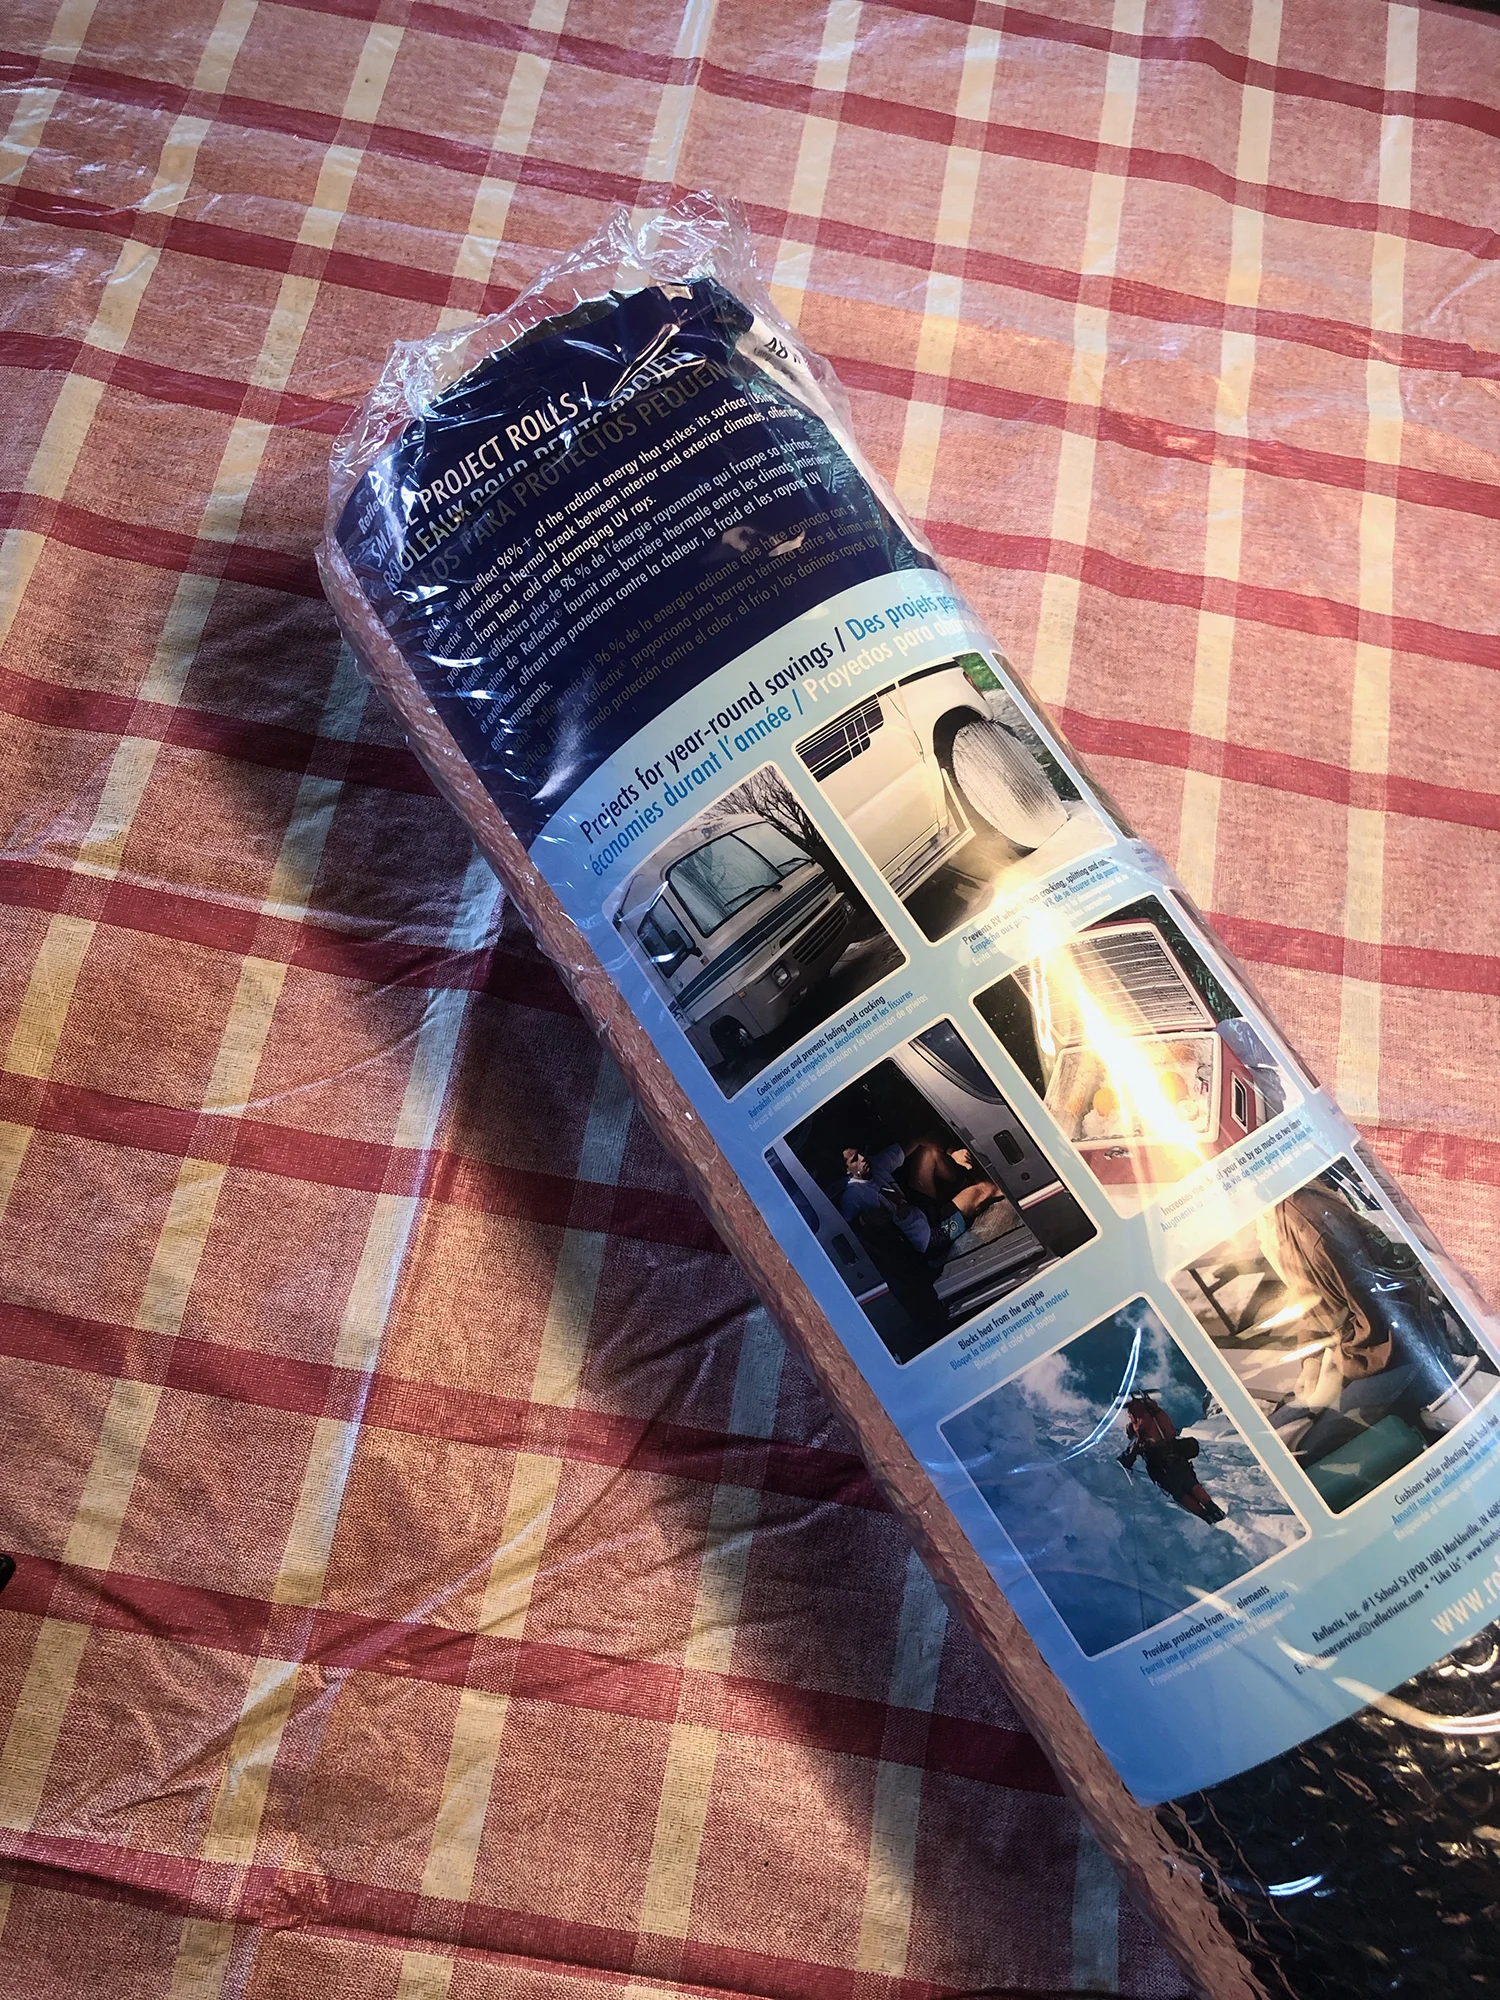
Reflectix - 1 roll
Black and/or fabric color of your choice (we had an old black table cloth and two shower curtains that we repurposed to save money)
Bias Tape for the Edges and Quilting Tape for the magnets - 3-5 packs of each (we ended up returning some but it’s better to have more!)
Rare Earth Magnets - 5 boxes
Spray Glue (optional)
From home: pencil, marker, scissors, sewing machine, thread, pins
Cost: $100-$150
Time: 4 days! (maybe about 10-15 hours total) I think you could do this a lot faster if you worked all day, weren’t trying to plan as you went and didn’t have sewing machine issues like we did.
Want to shop more of the products we used in our van build?
Click here to view our full list of recommended items and our Amazon store!
Step 1: Measure and Create a Template
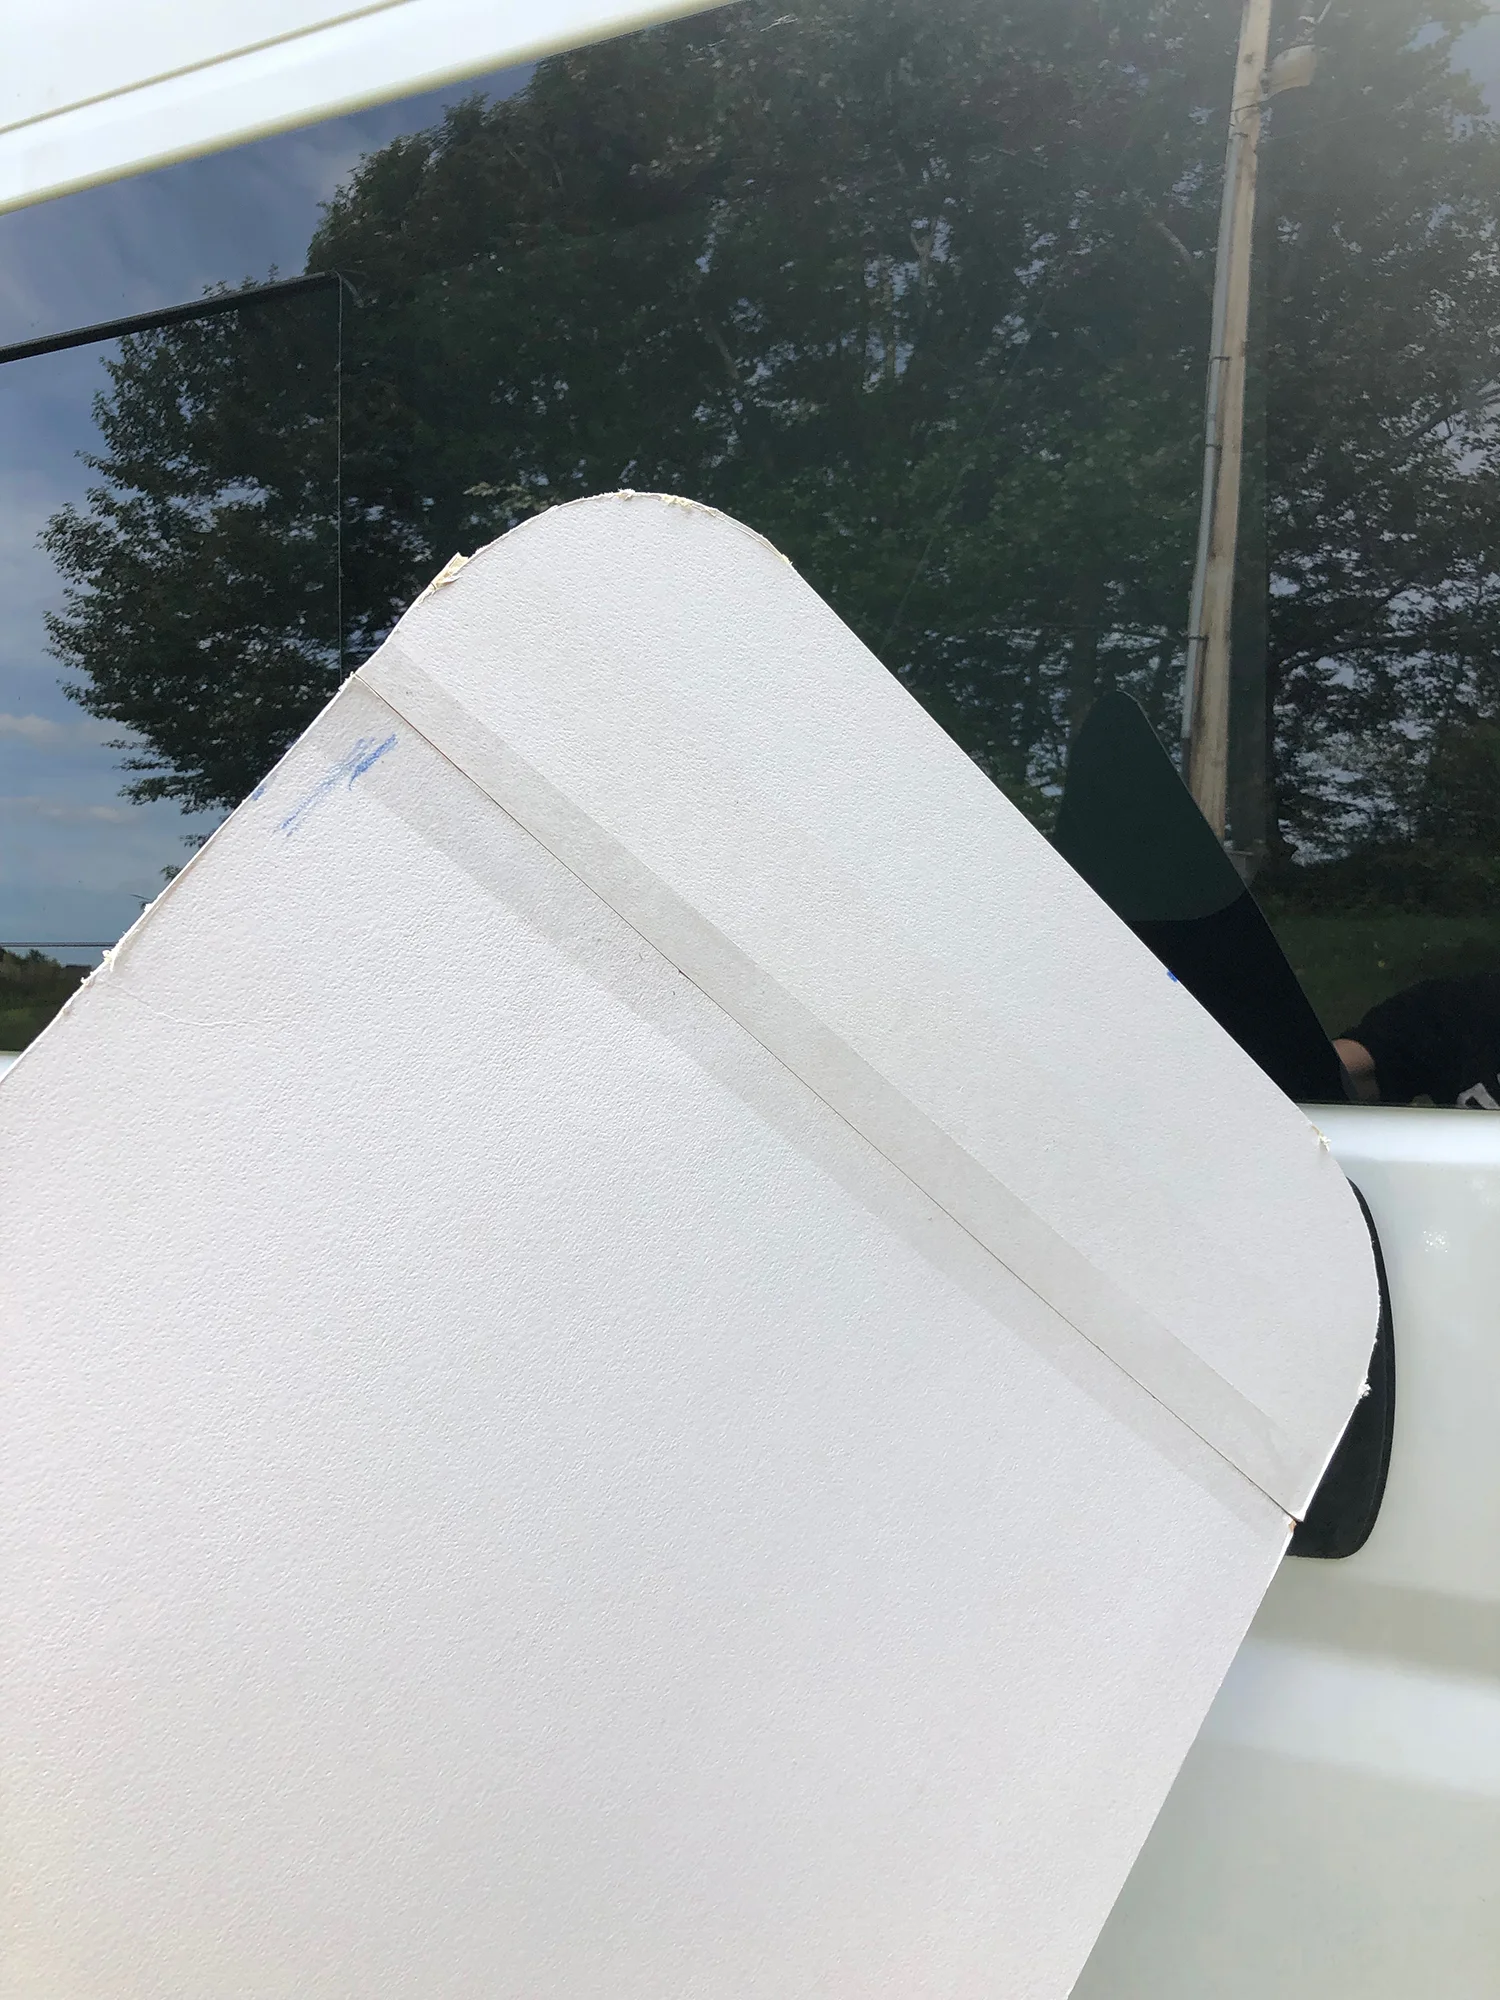
Measure your windows. Always measure twice and cut once - my dad told me this over and over until it finally sunk in! Use matte board or cardboard to create a template for your windows. I recommend using a T-Square to make straight lines. To round the corners, use a compass, round shape, or tracing paper like I did. I placed the tracing paper on the window, used a marker to copy the curvature of the window and then placed it on my matte board and cut on the curve.
Check that your templates fit! Measure 5 times - maybe more if you have issues with numbers!

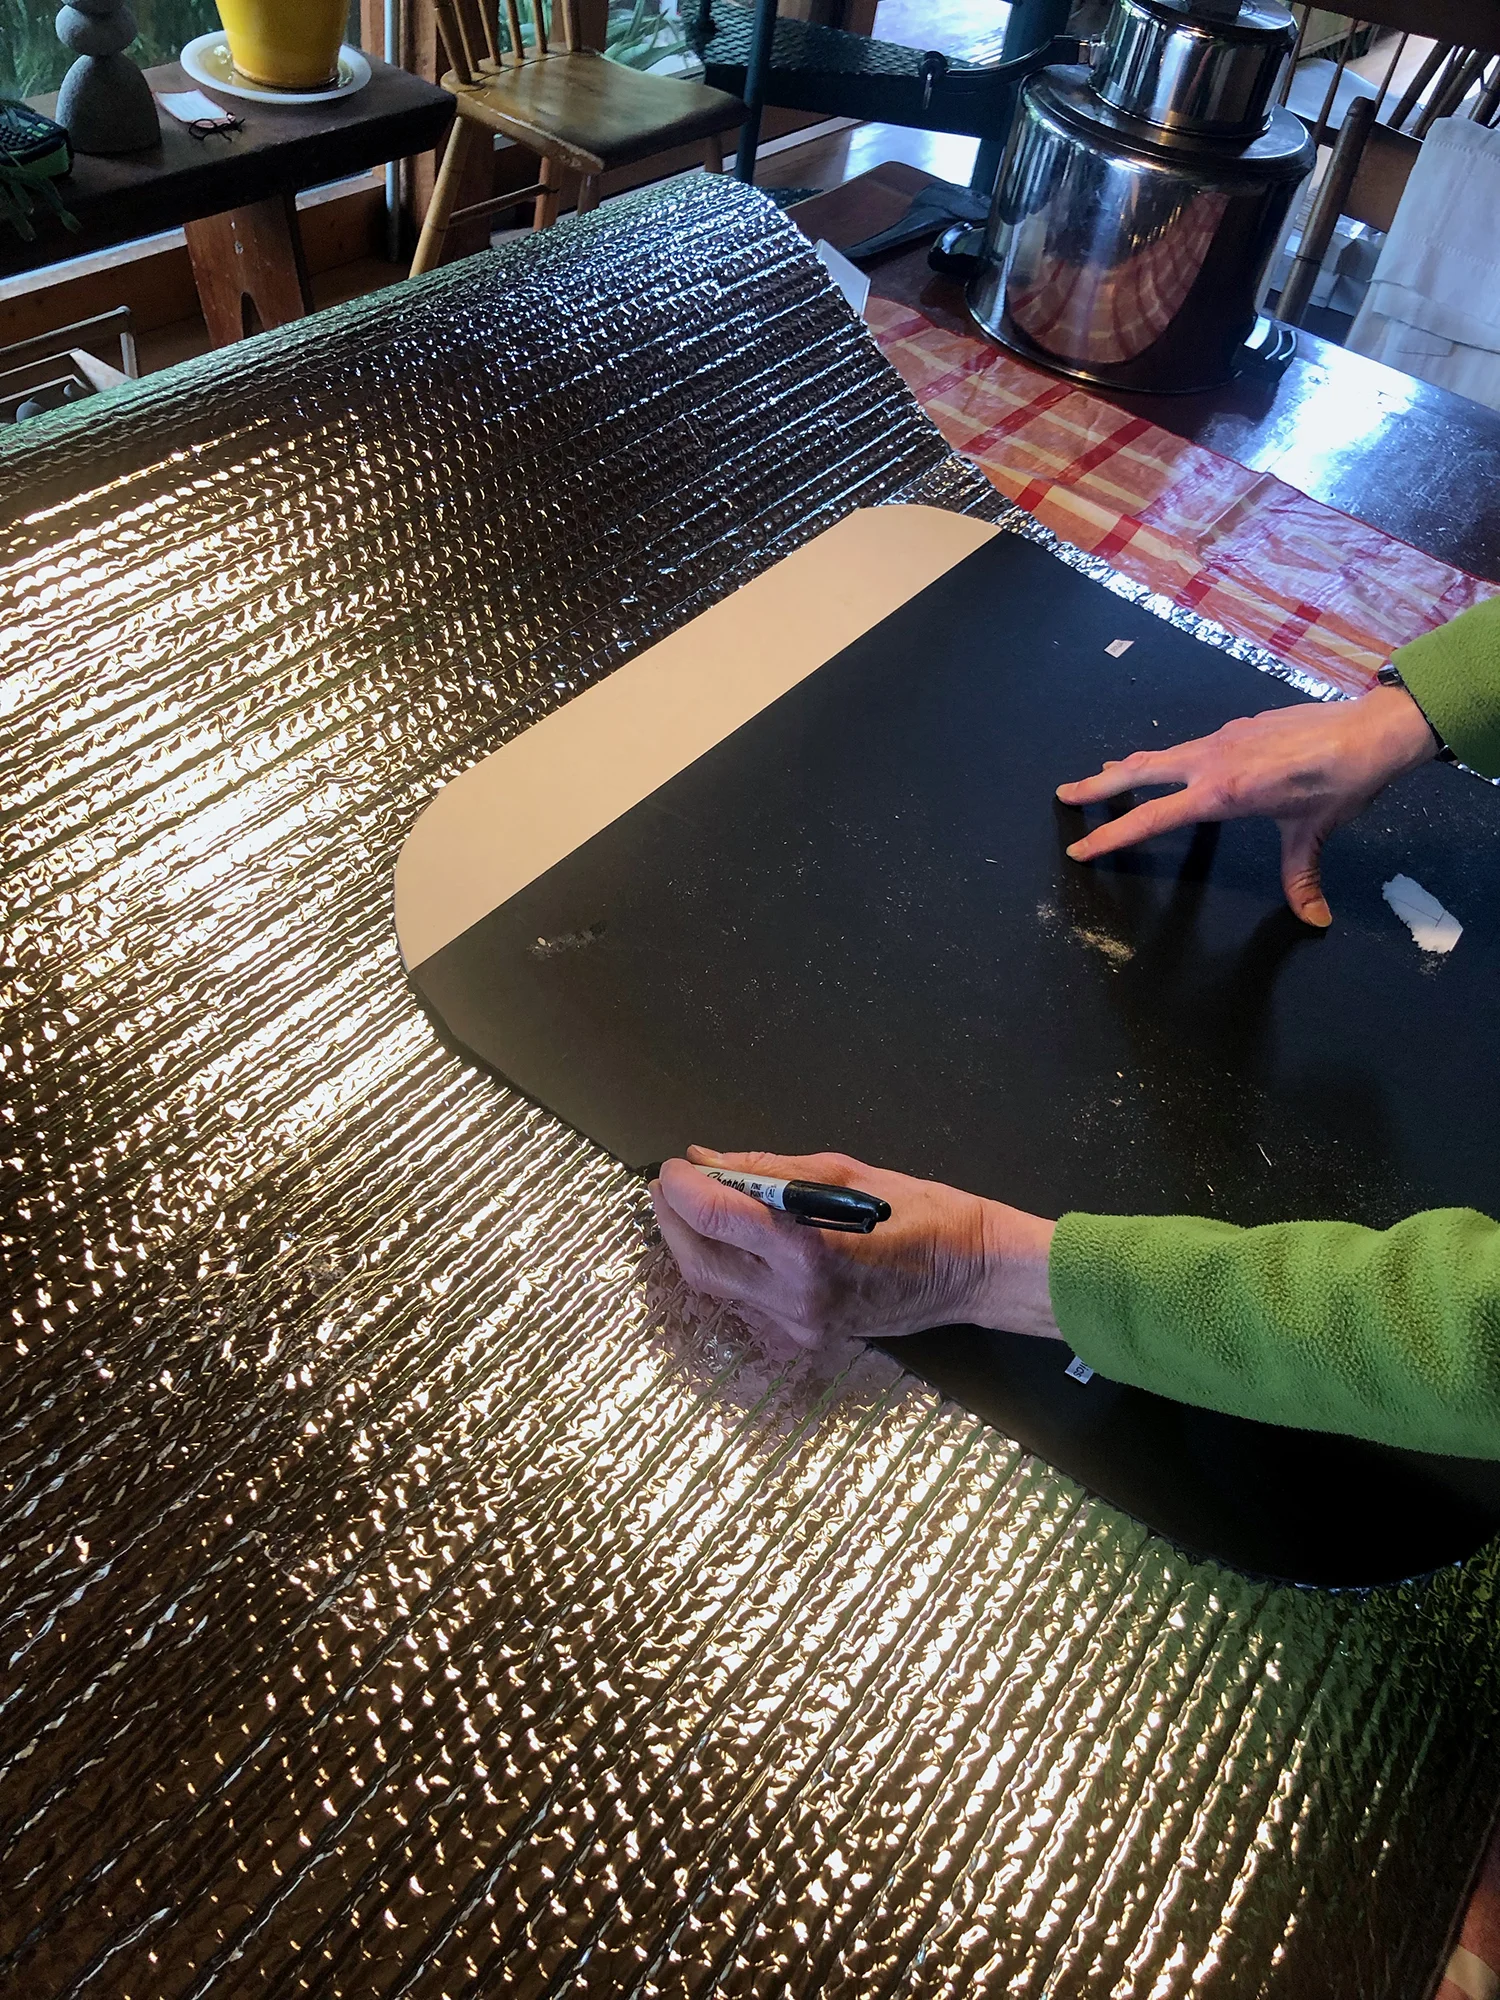
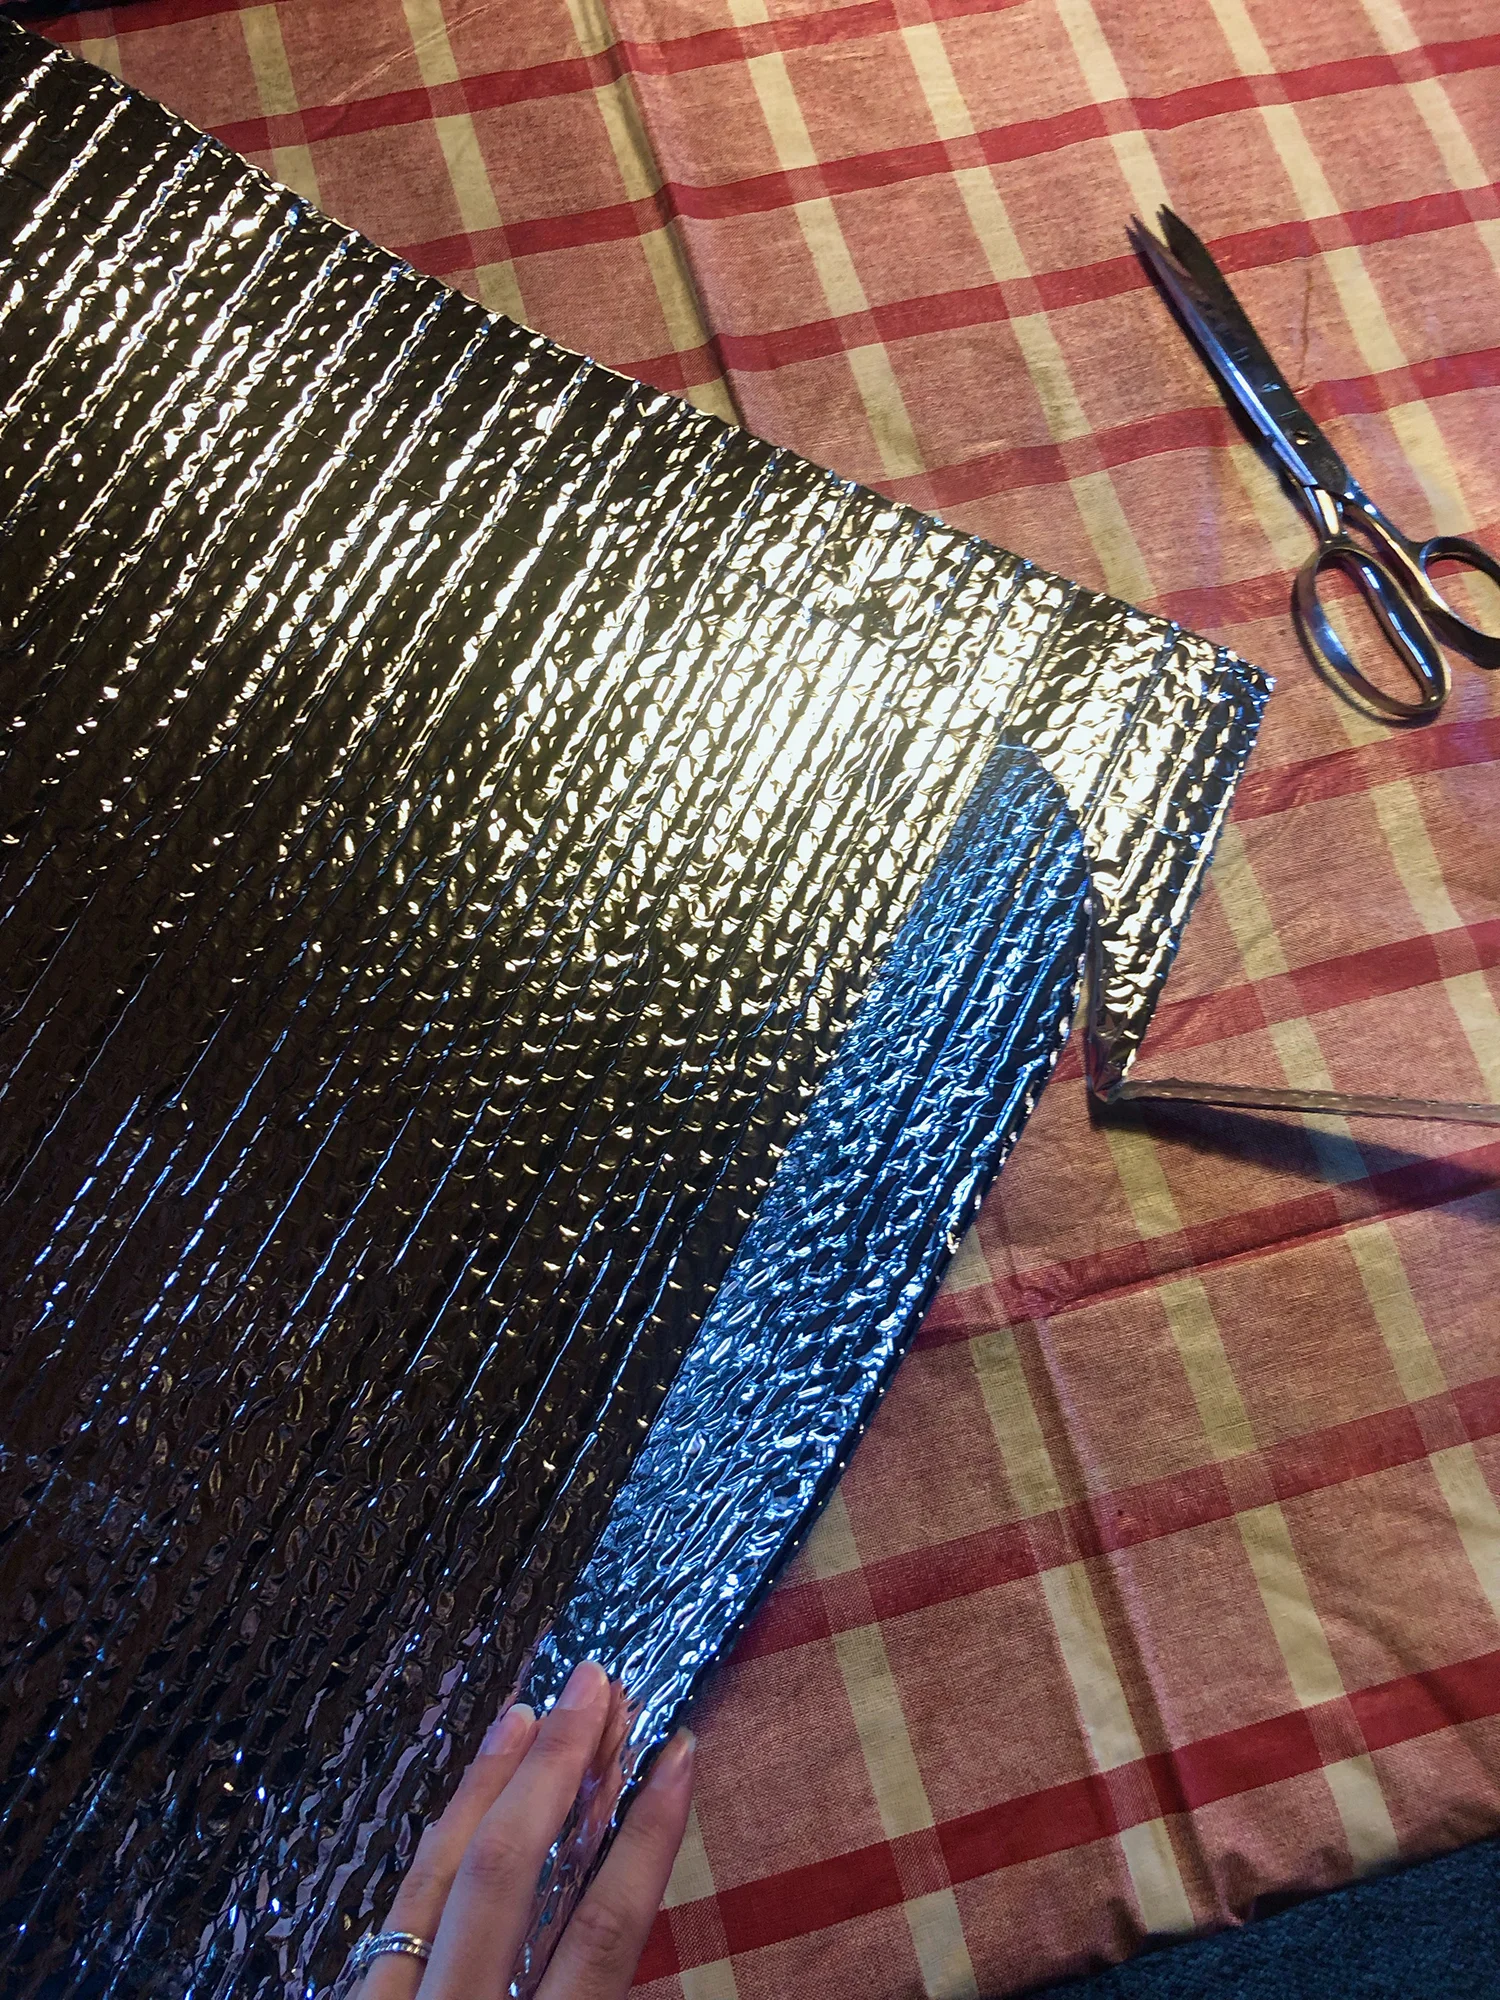
Step 2: Cut the Reflectix
Roll out your Reflectix and draw around your template. Cut out the window shape and triple check that it fits the window. We had a decent amount of Reflectix left over which we might use later in the winter.

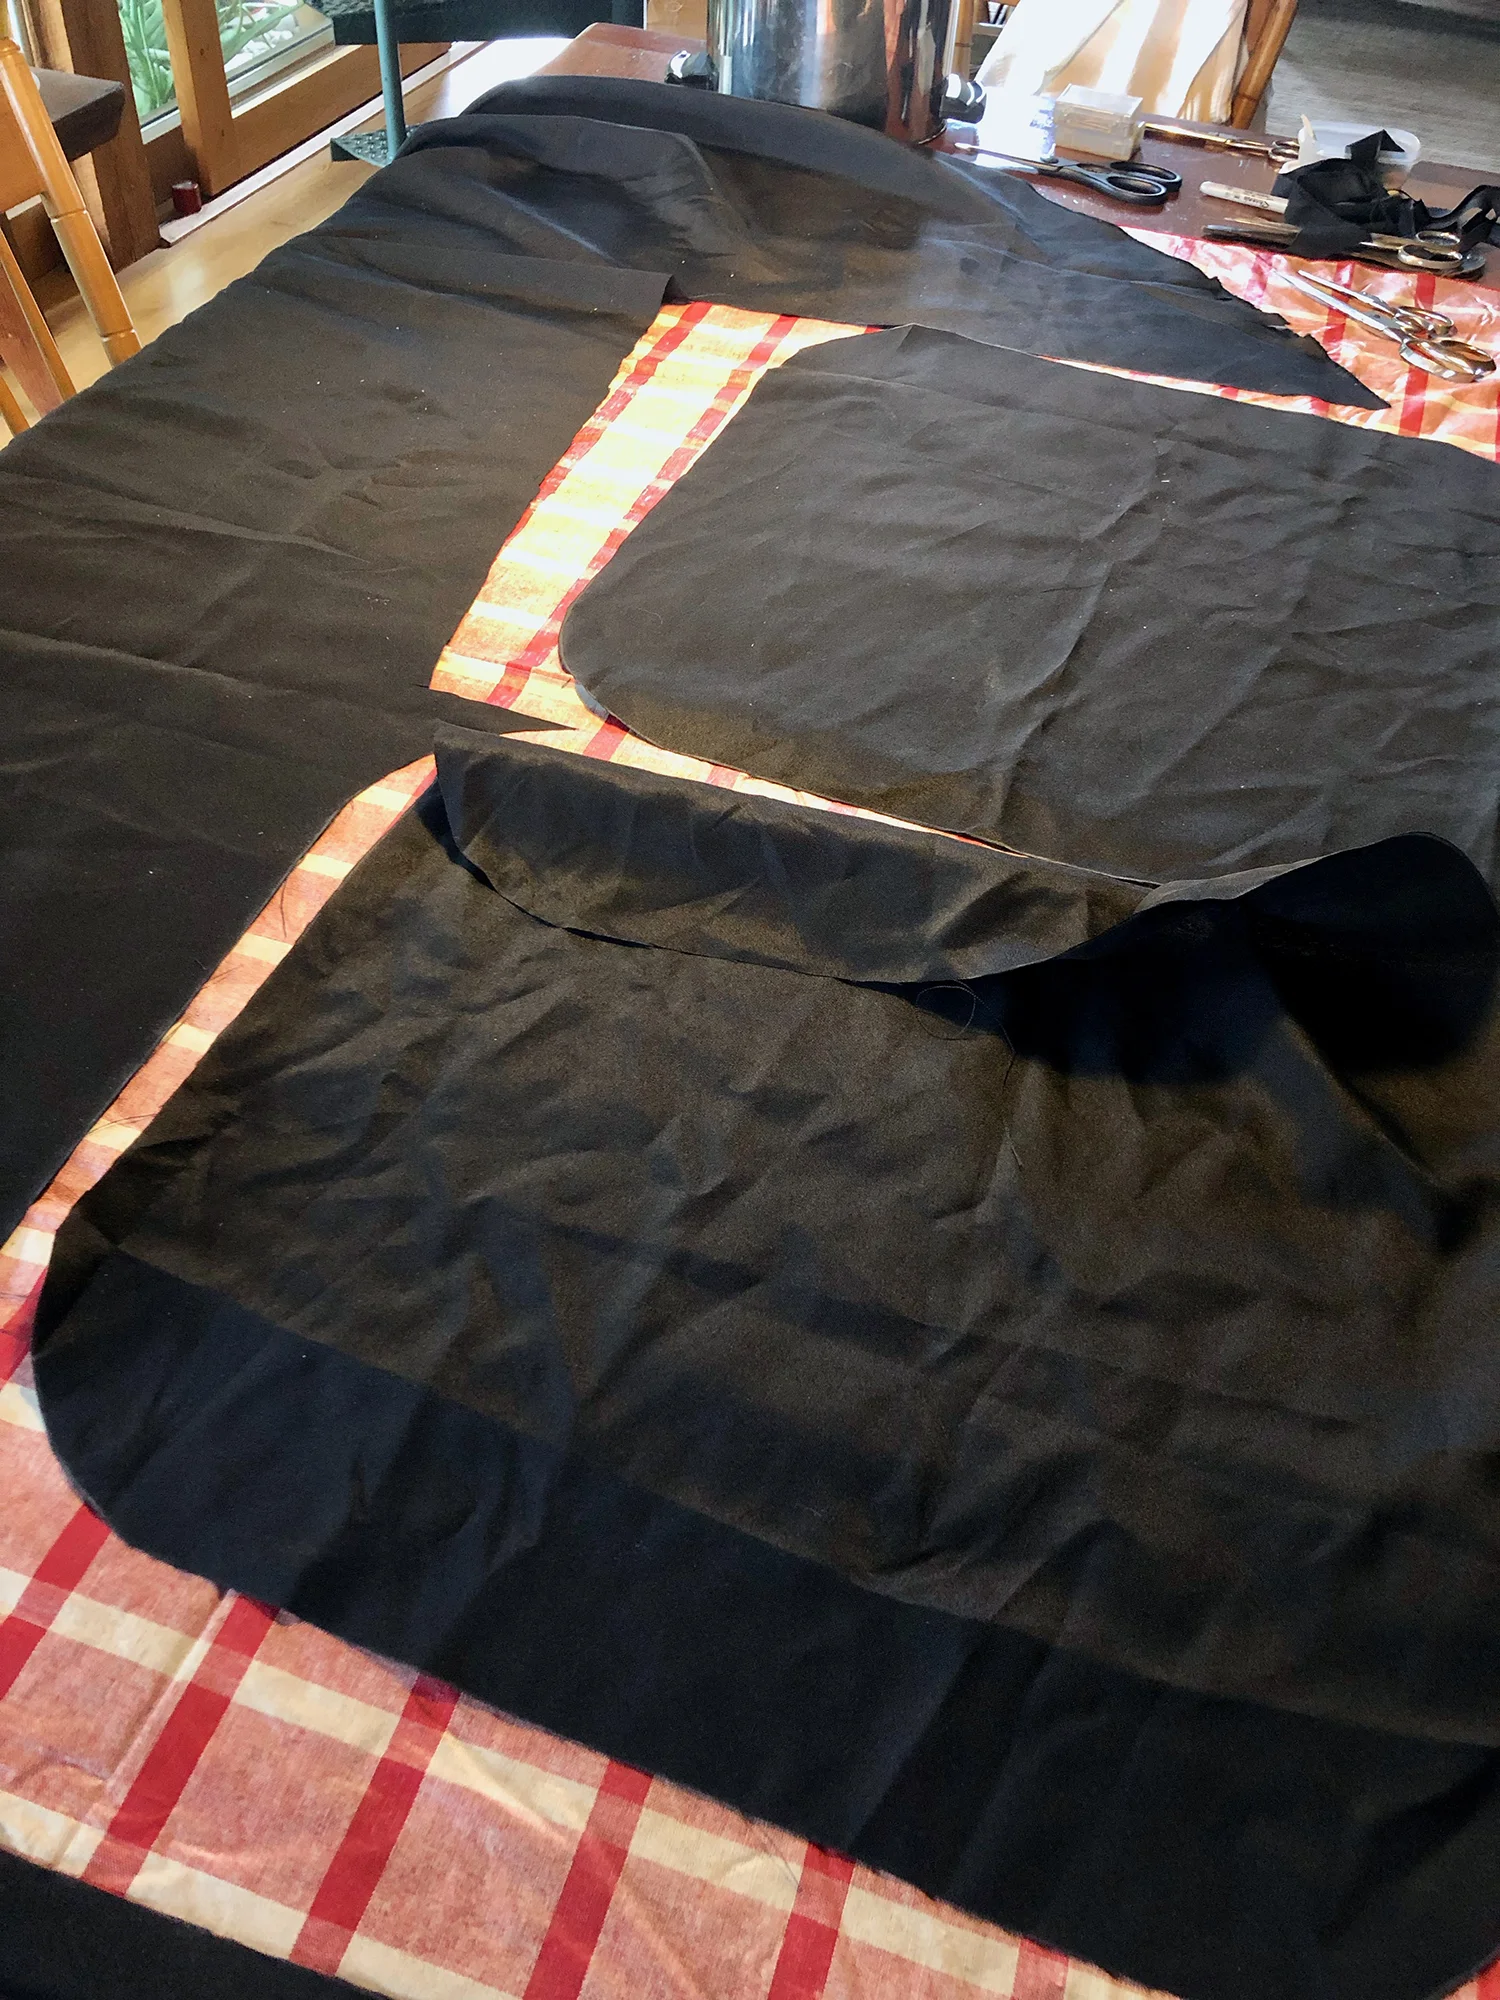
Step 3: Cut the Fabric
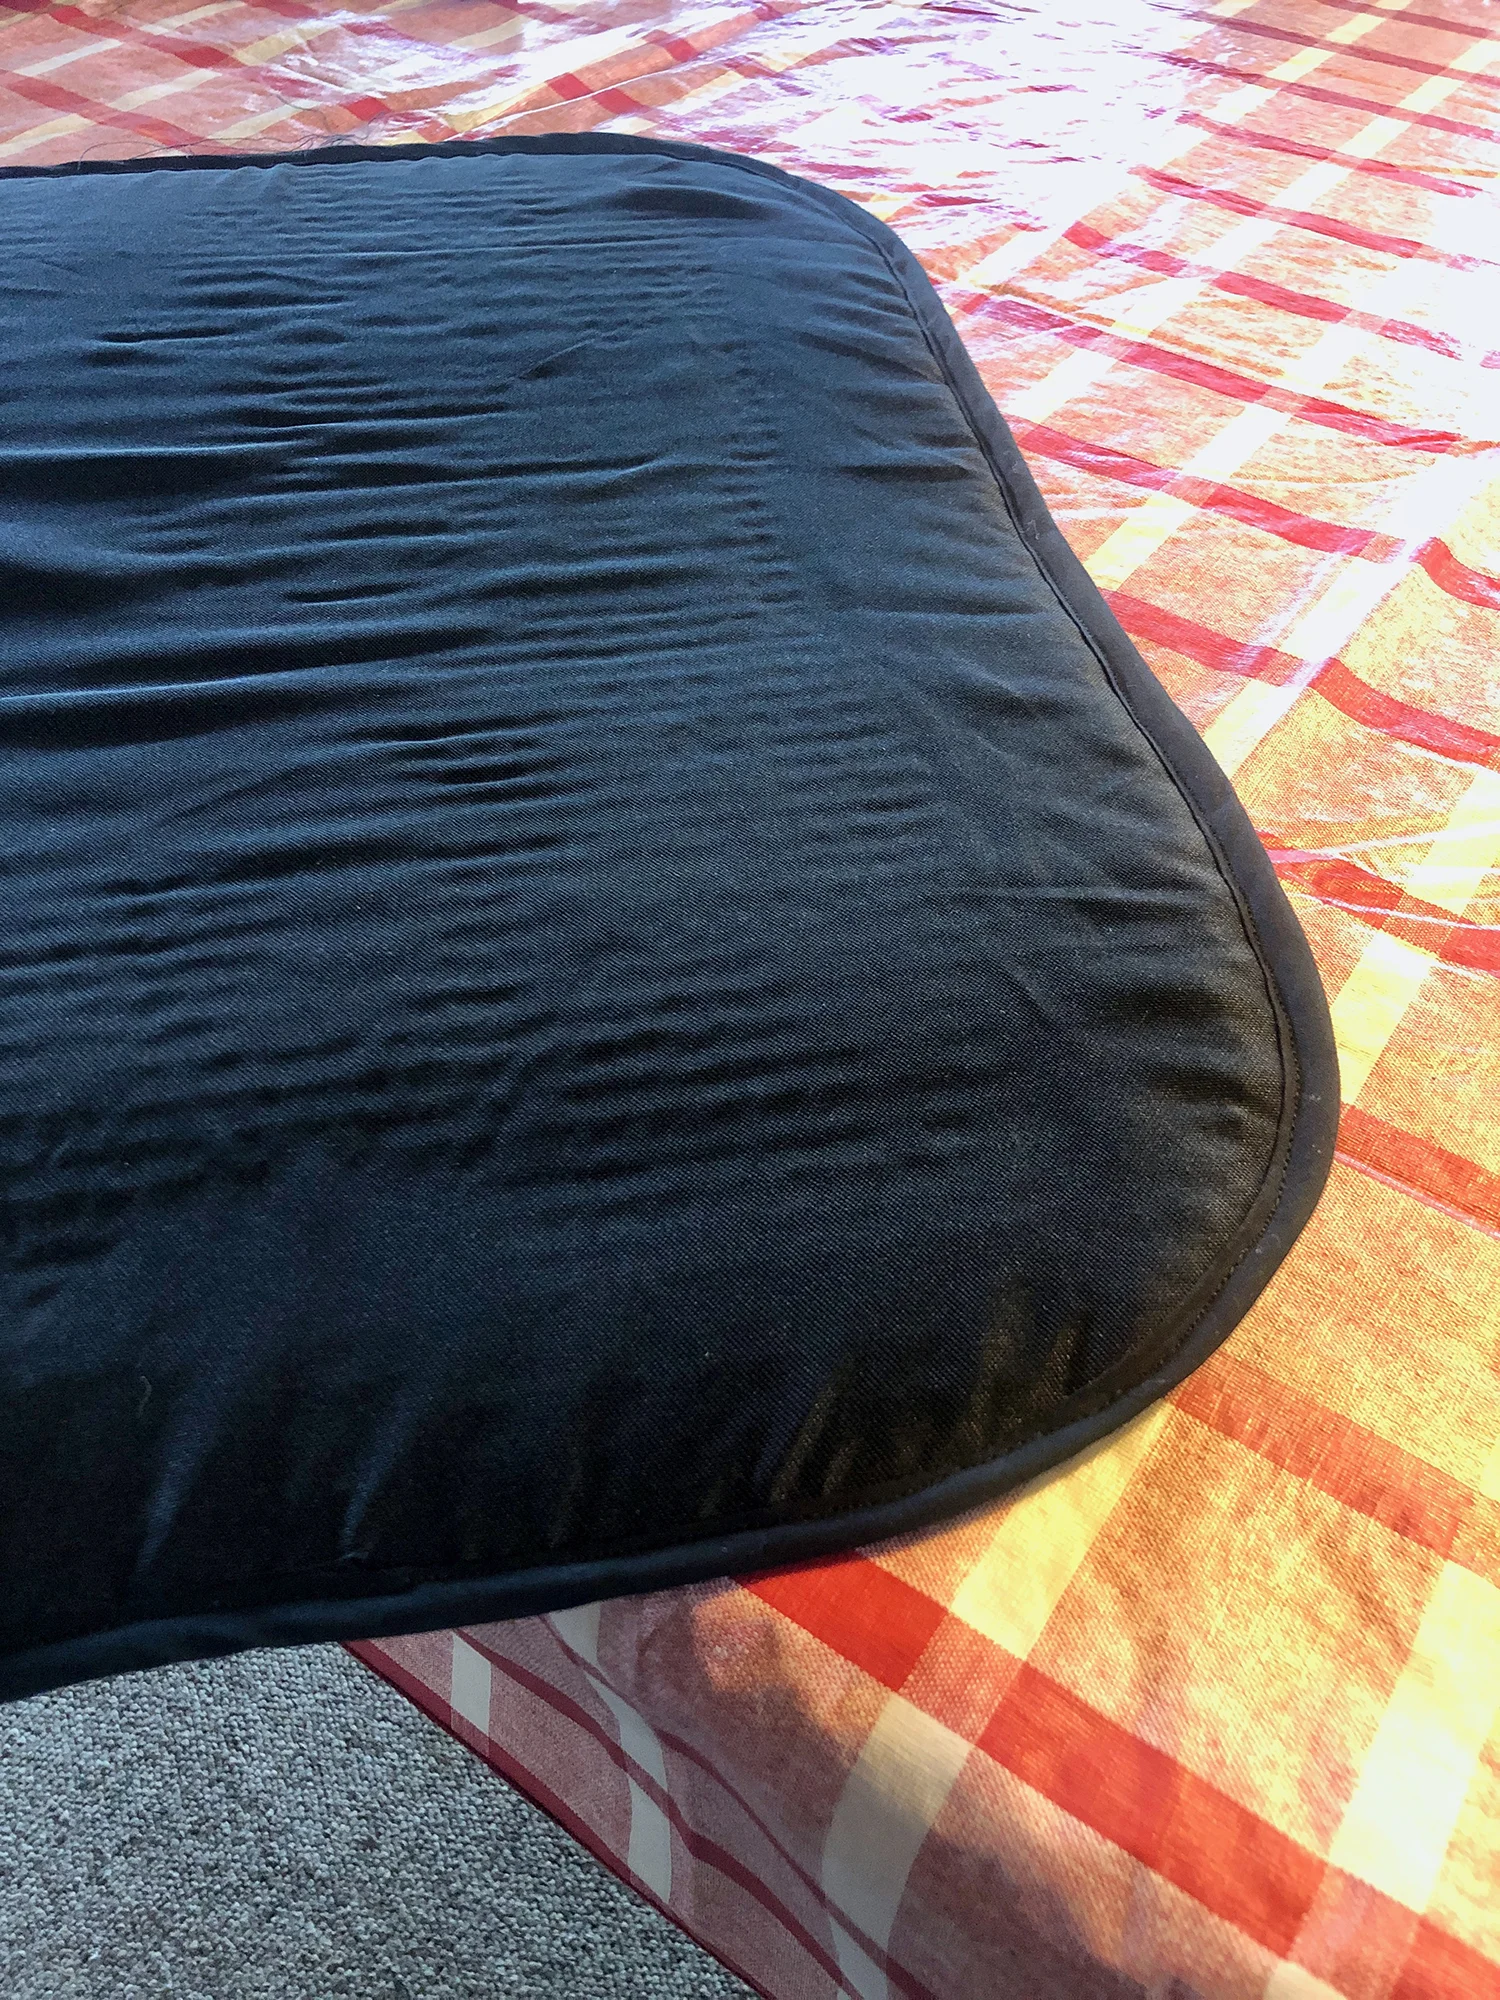
Use your template to cut the black and white fabric. We recommend ironing the fabric first - these wrinkles were a total pain later on.

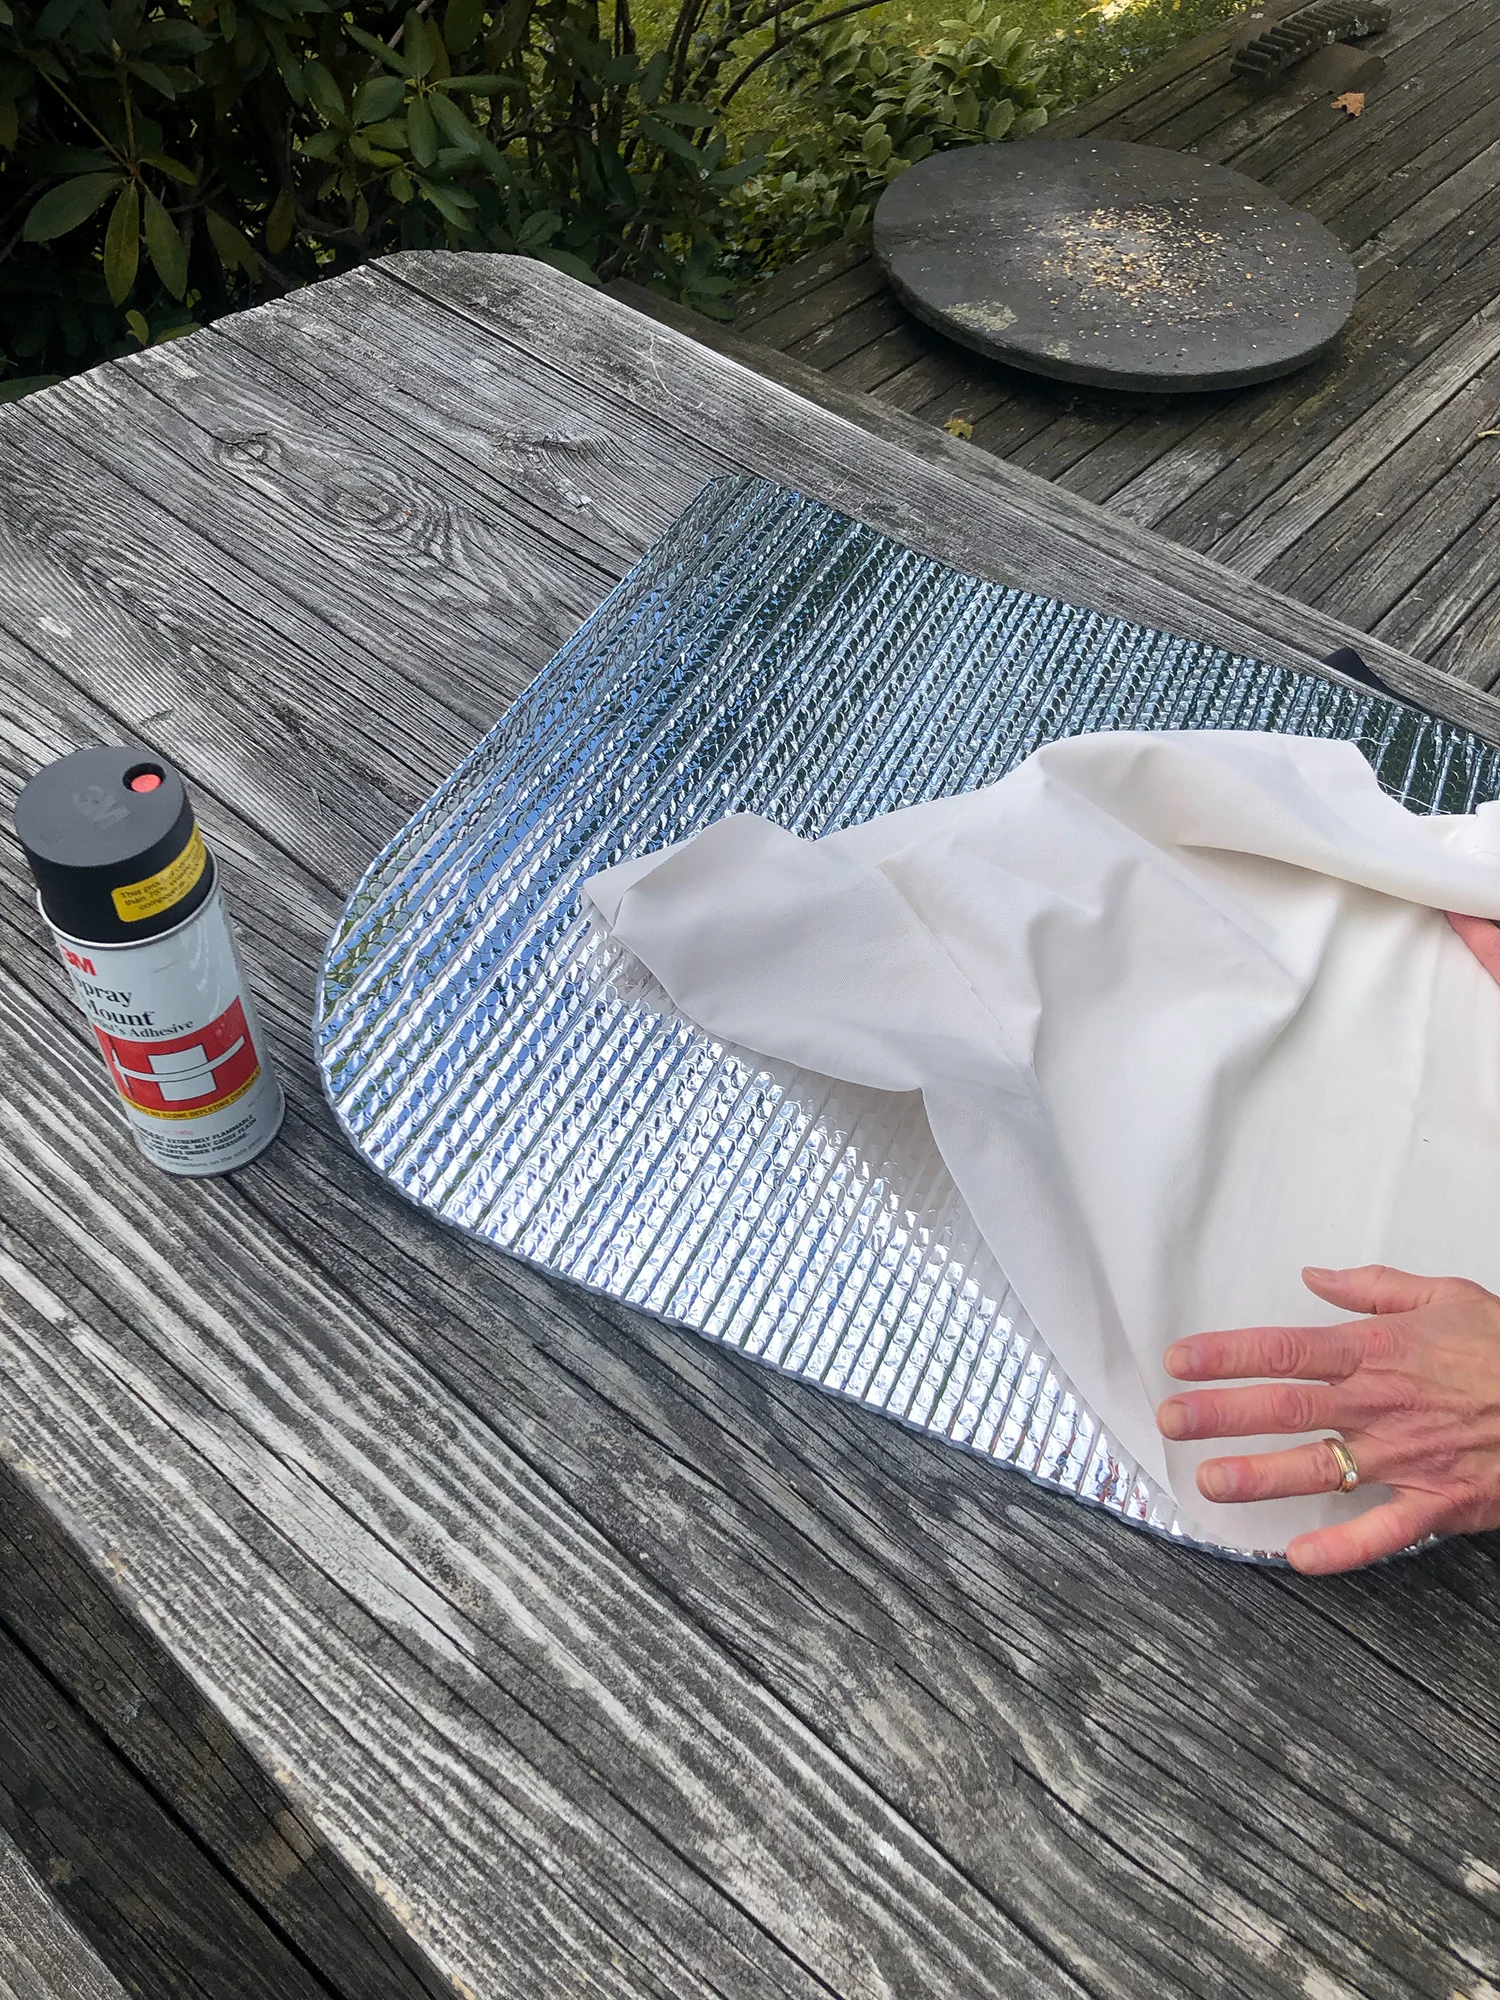
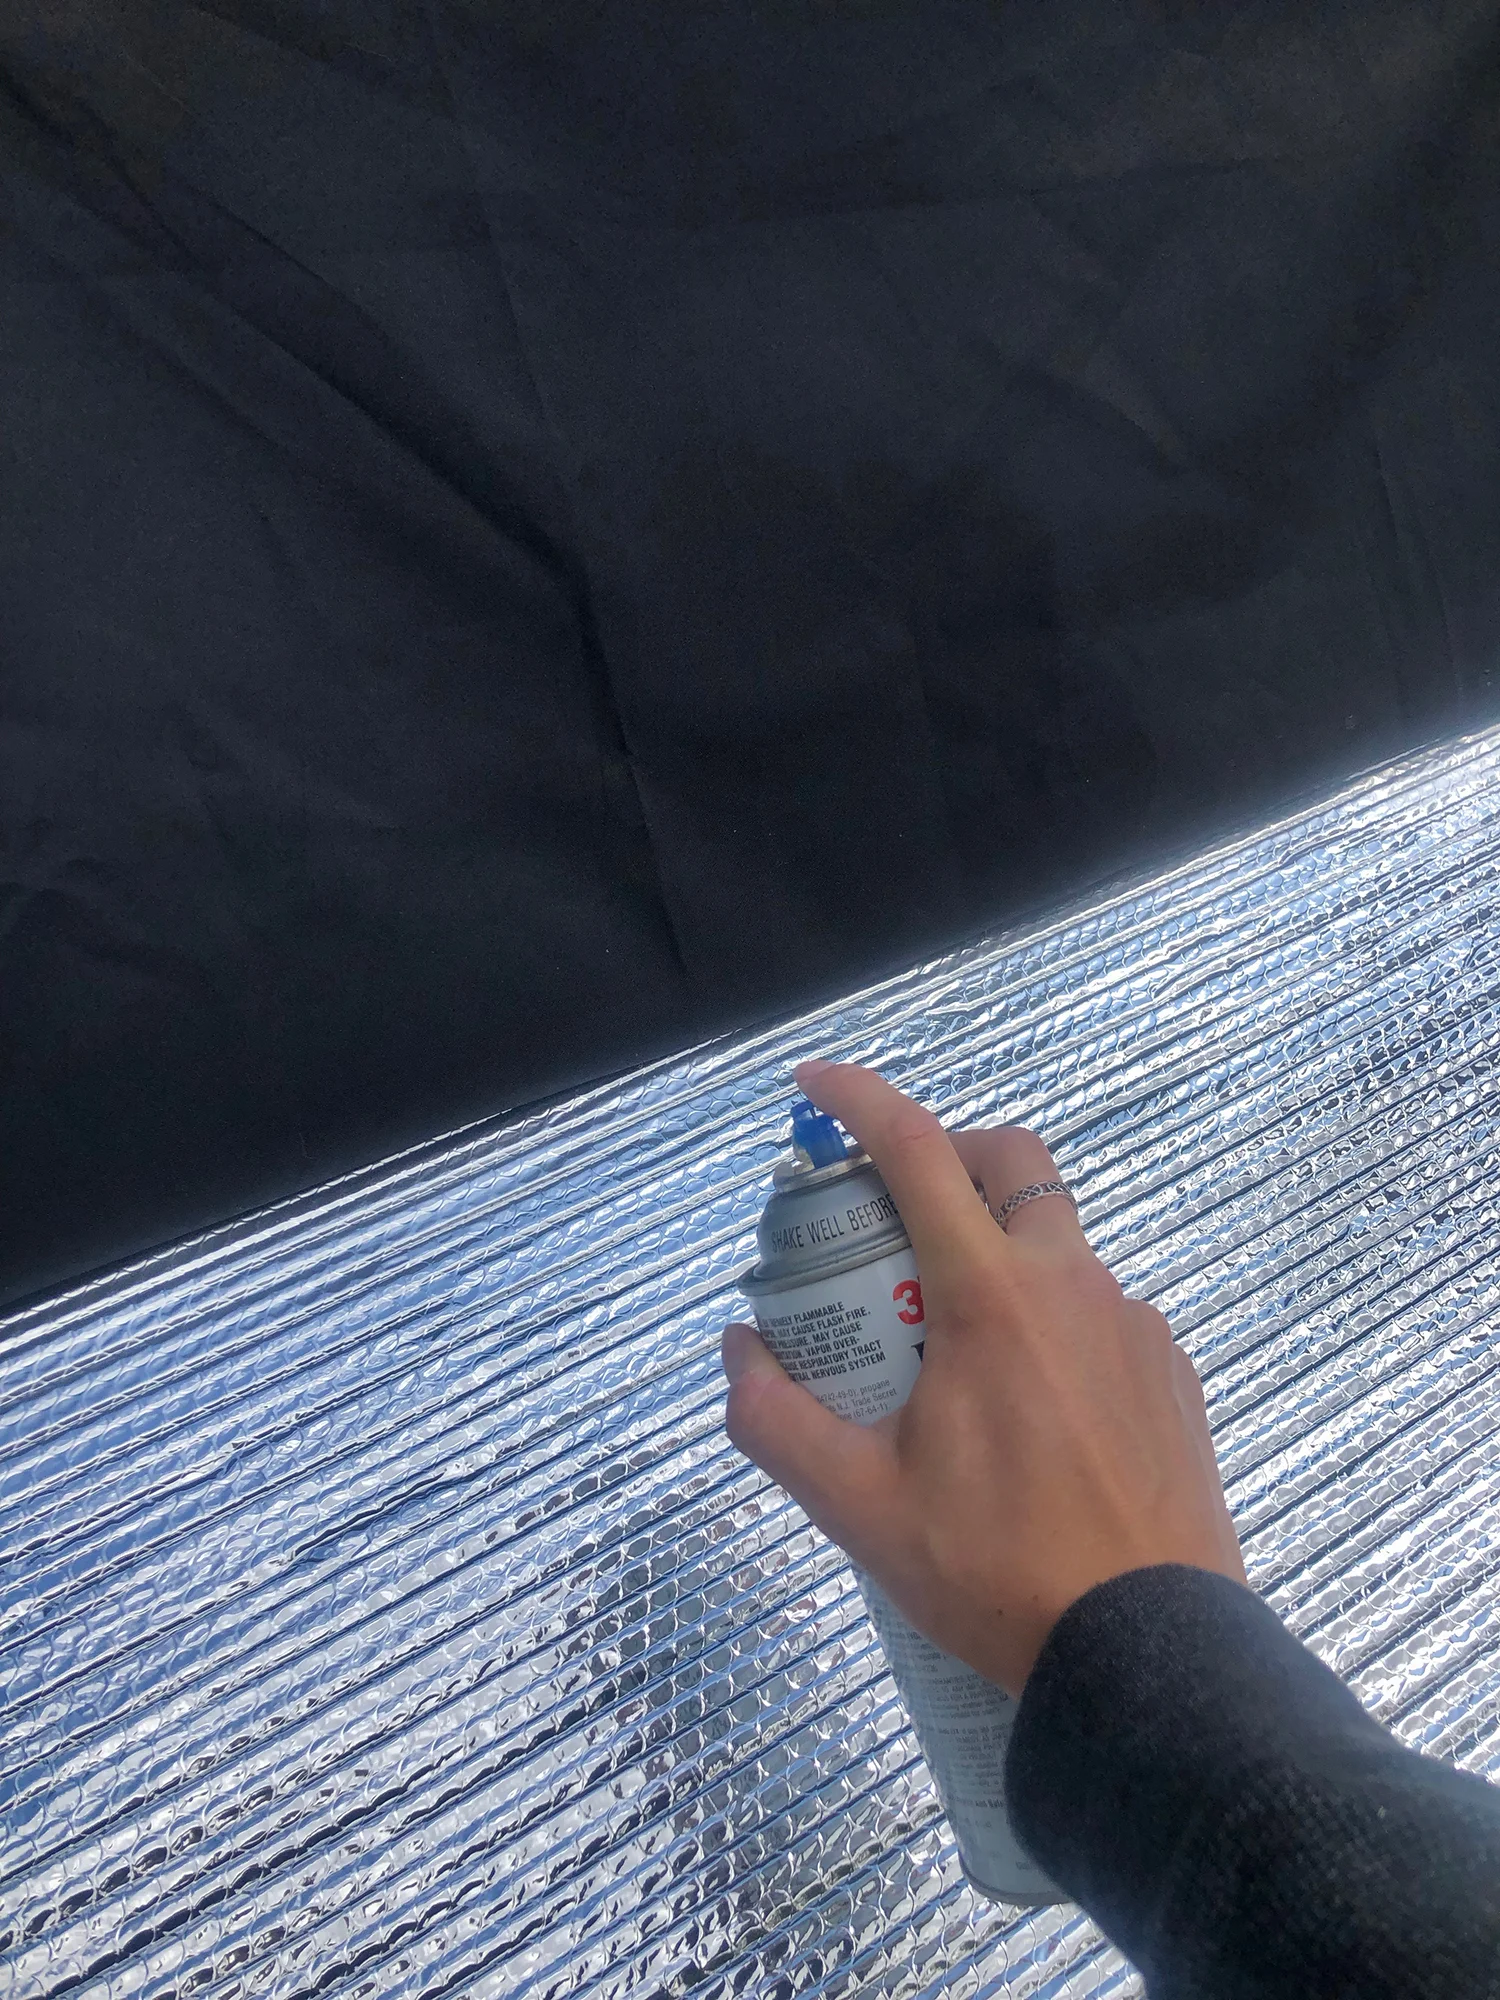
Step 4: Spray the Reflectix
This step is optional but we feel that it helped to hold the fabric in place when we sewed. Slowly spray the top edge of the Reflectix with spray glue, allow a few seconds for it to get tacky and the place the fabric. Continue working your way down in small increments.
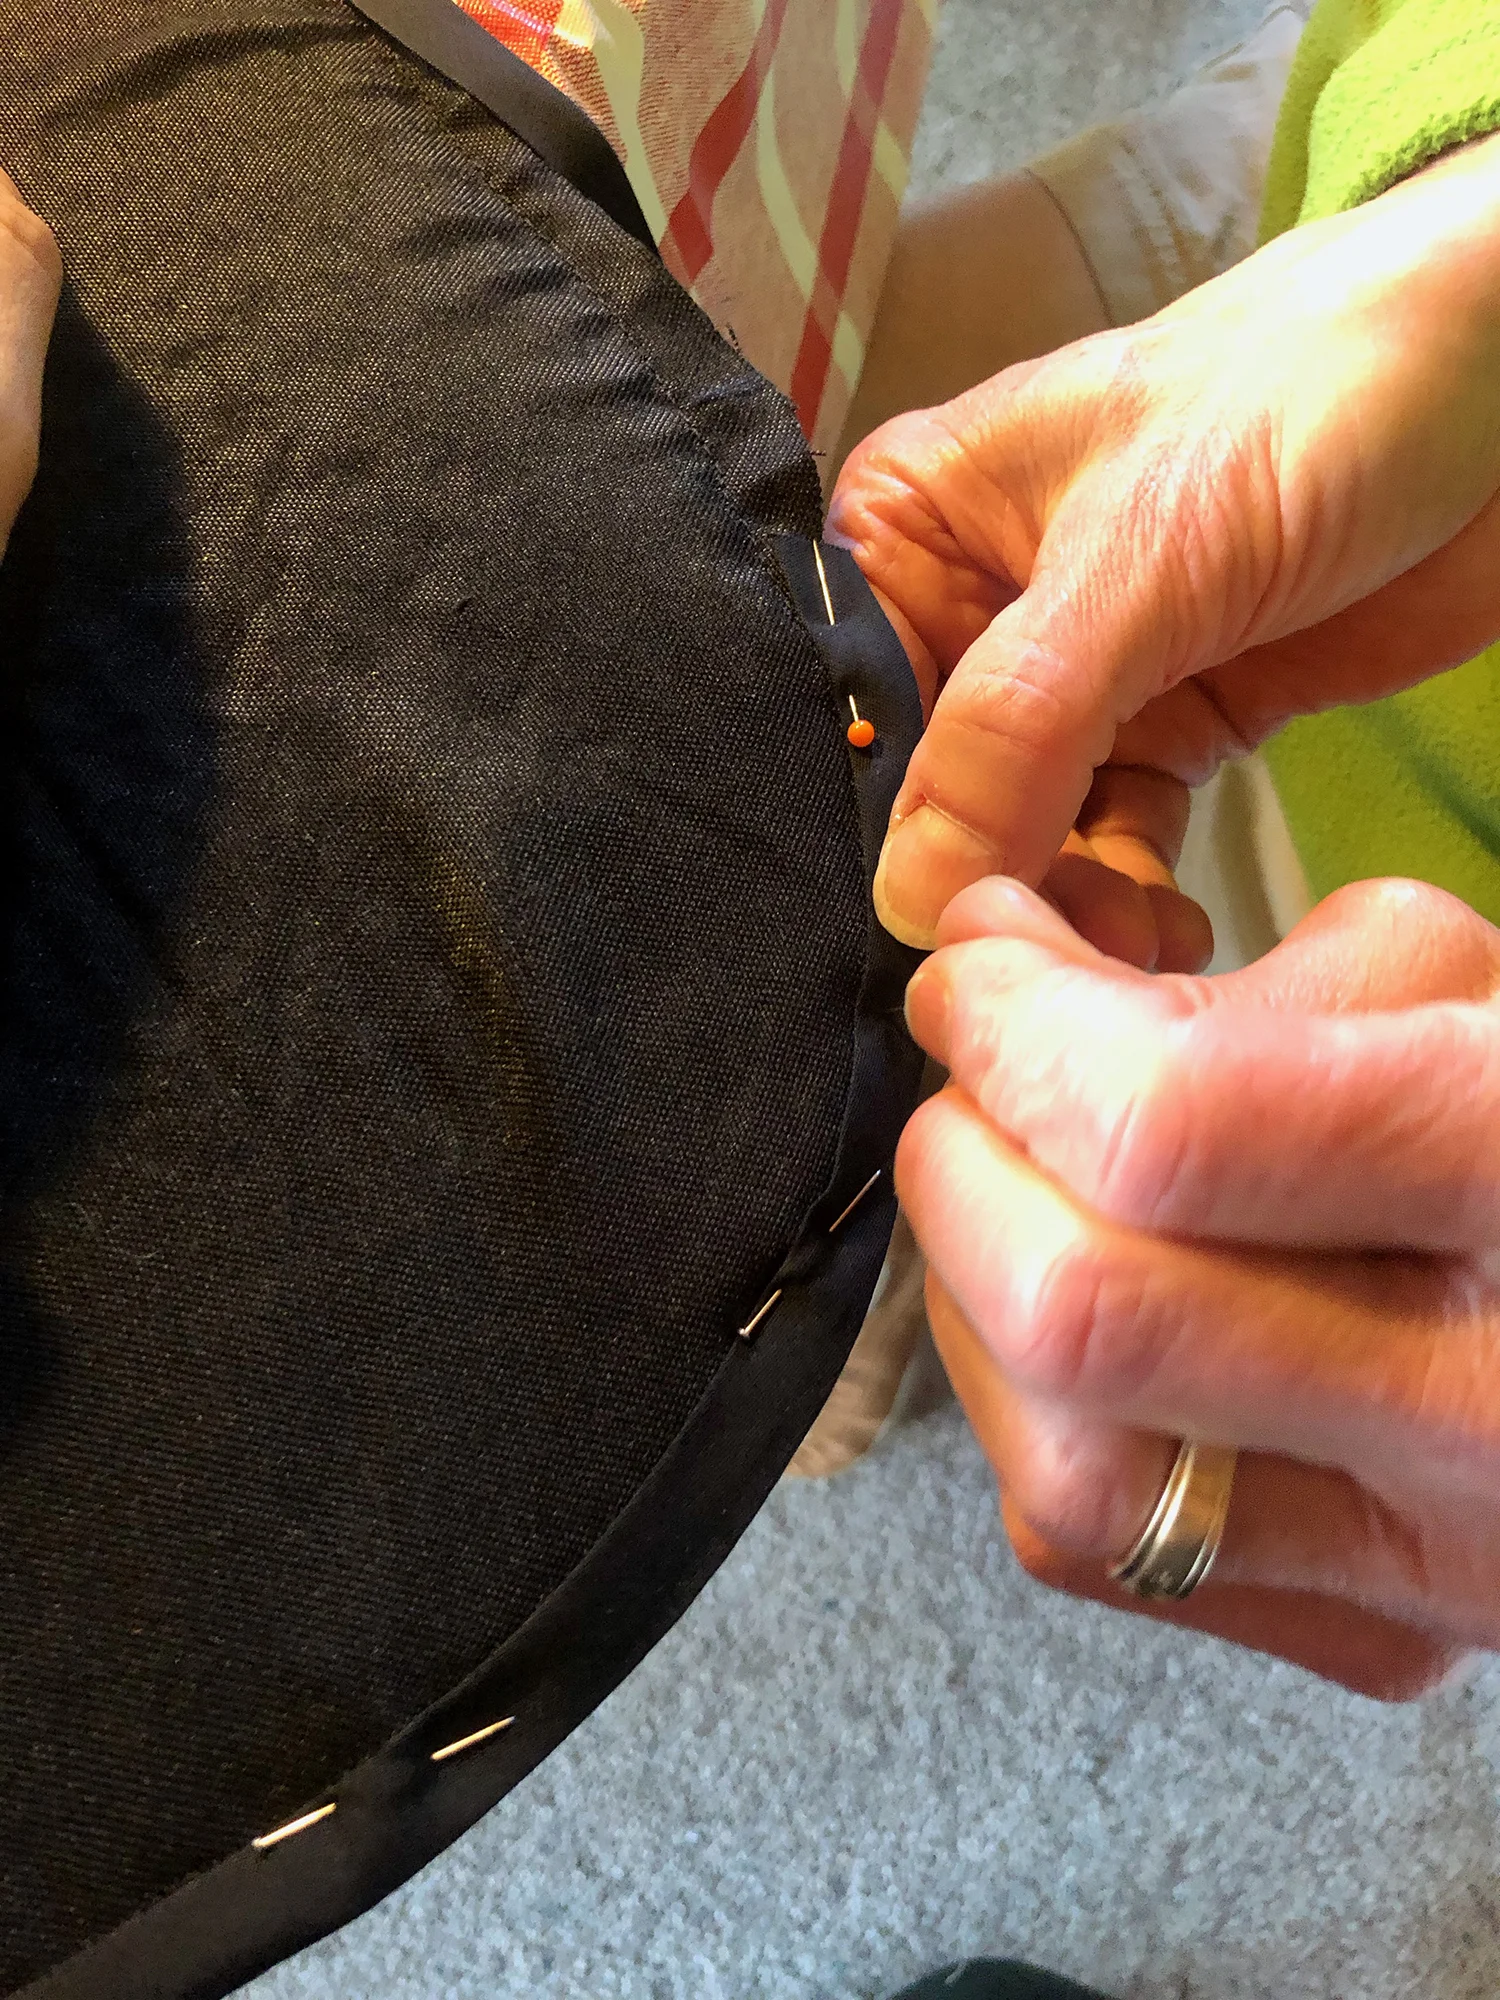
Step 5: Start Pinning
We sewed around the whole window cover before adding the bias tape but realized this probably was not necessary. It did however, keep everything in place but doubled the amount of work. If you are a decent sewer, you can skip that step!
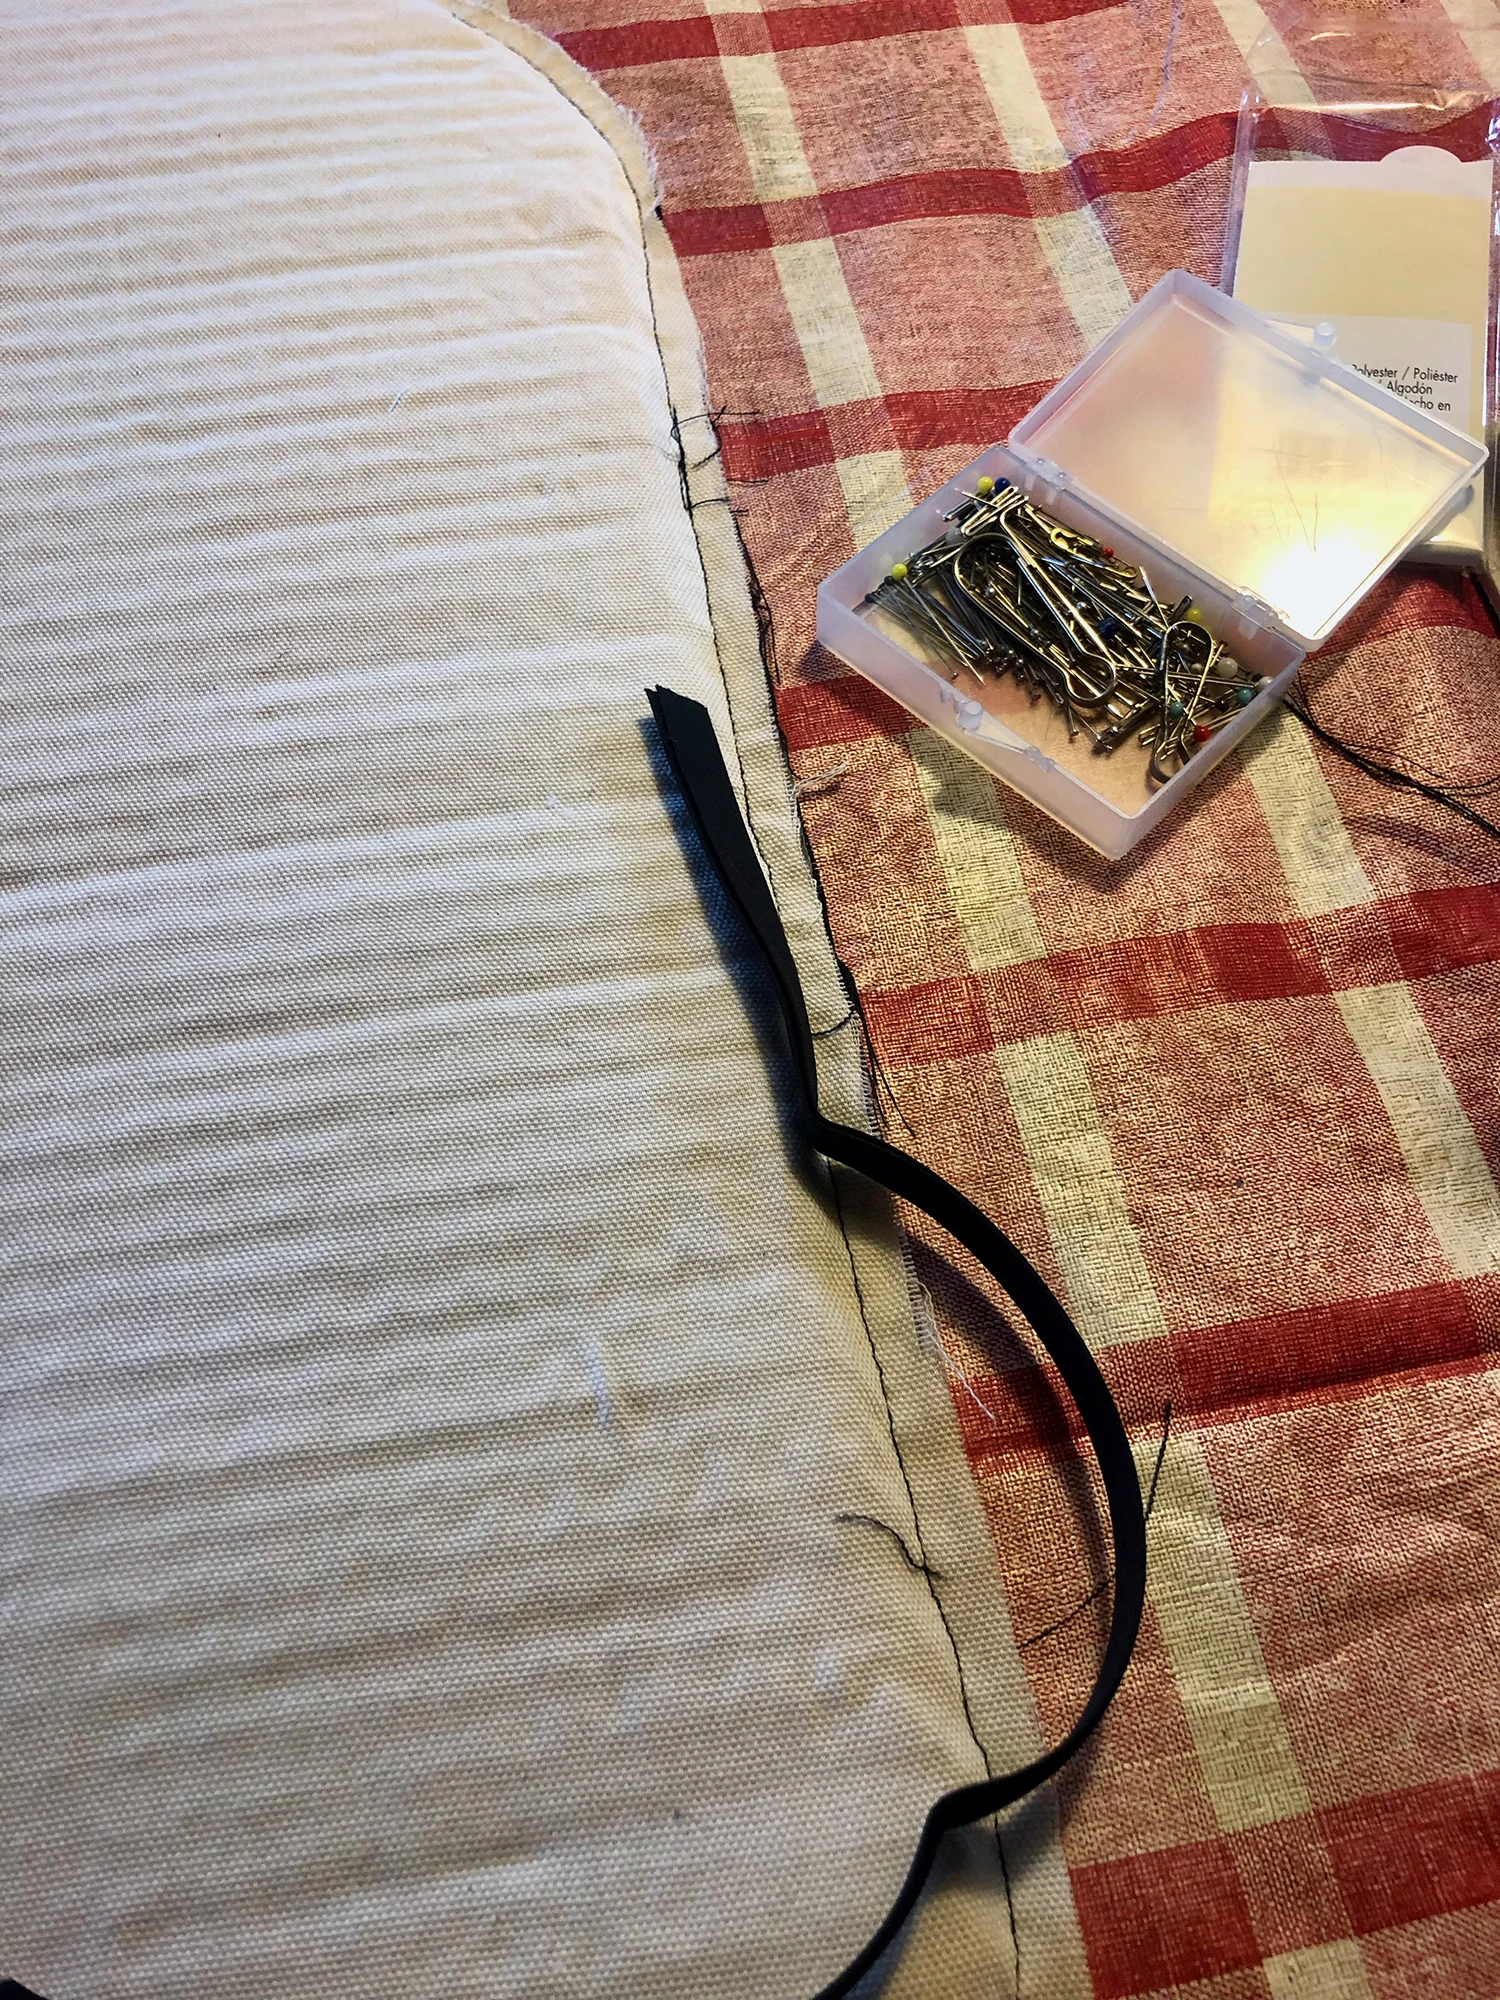
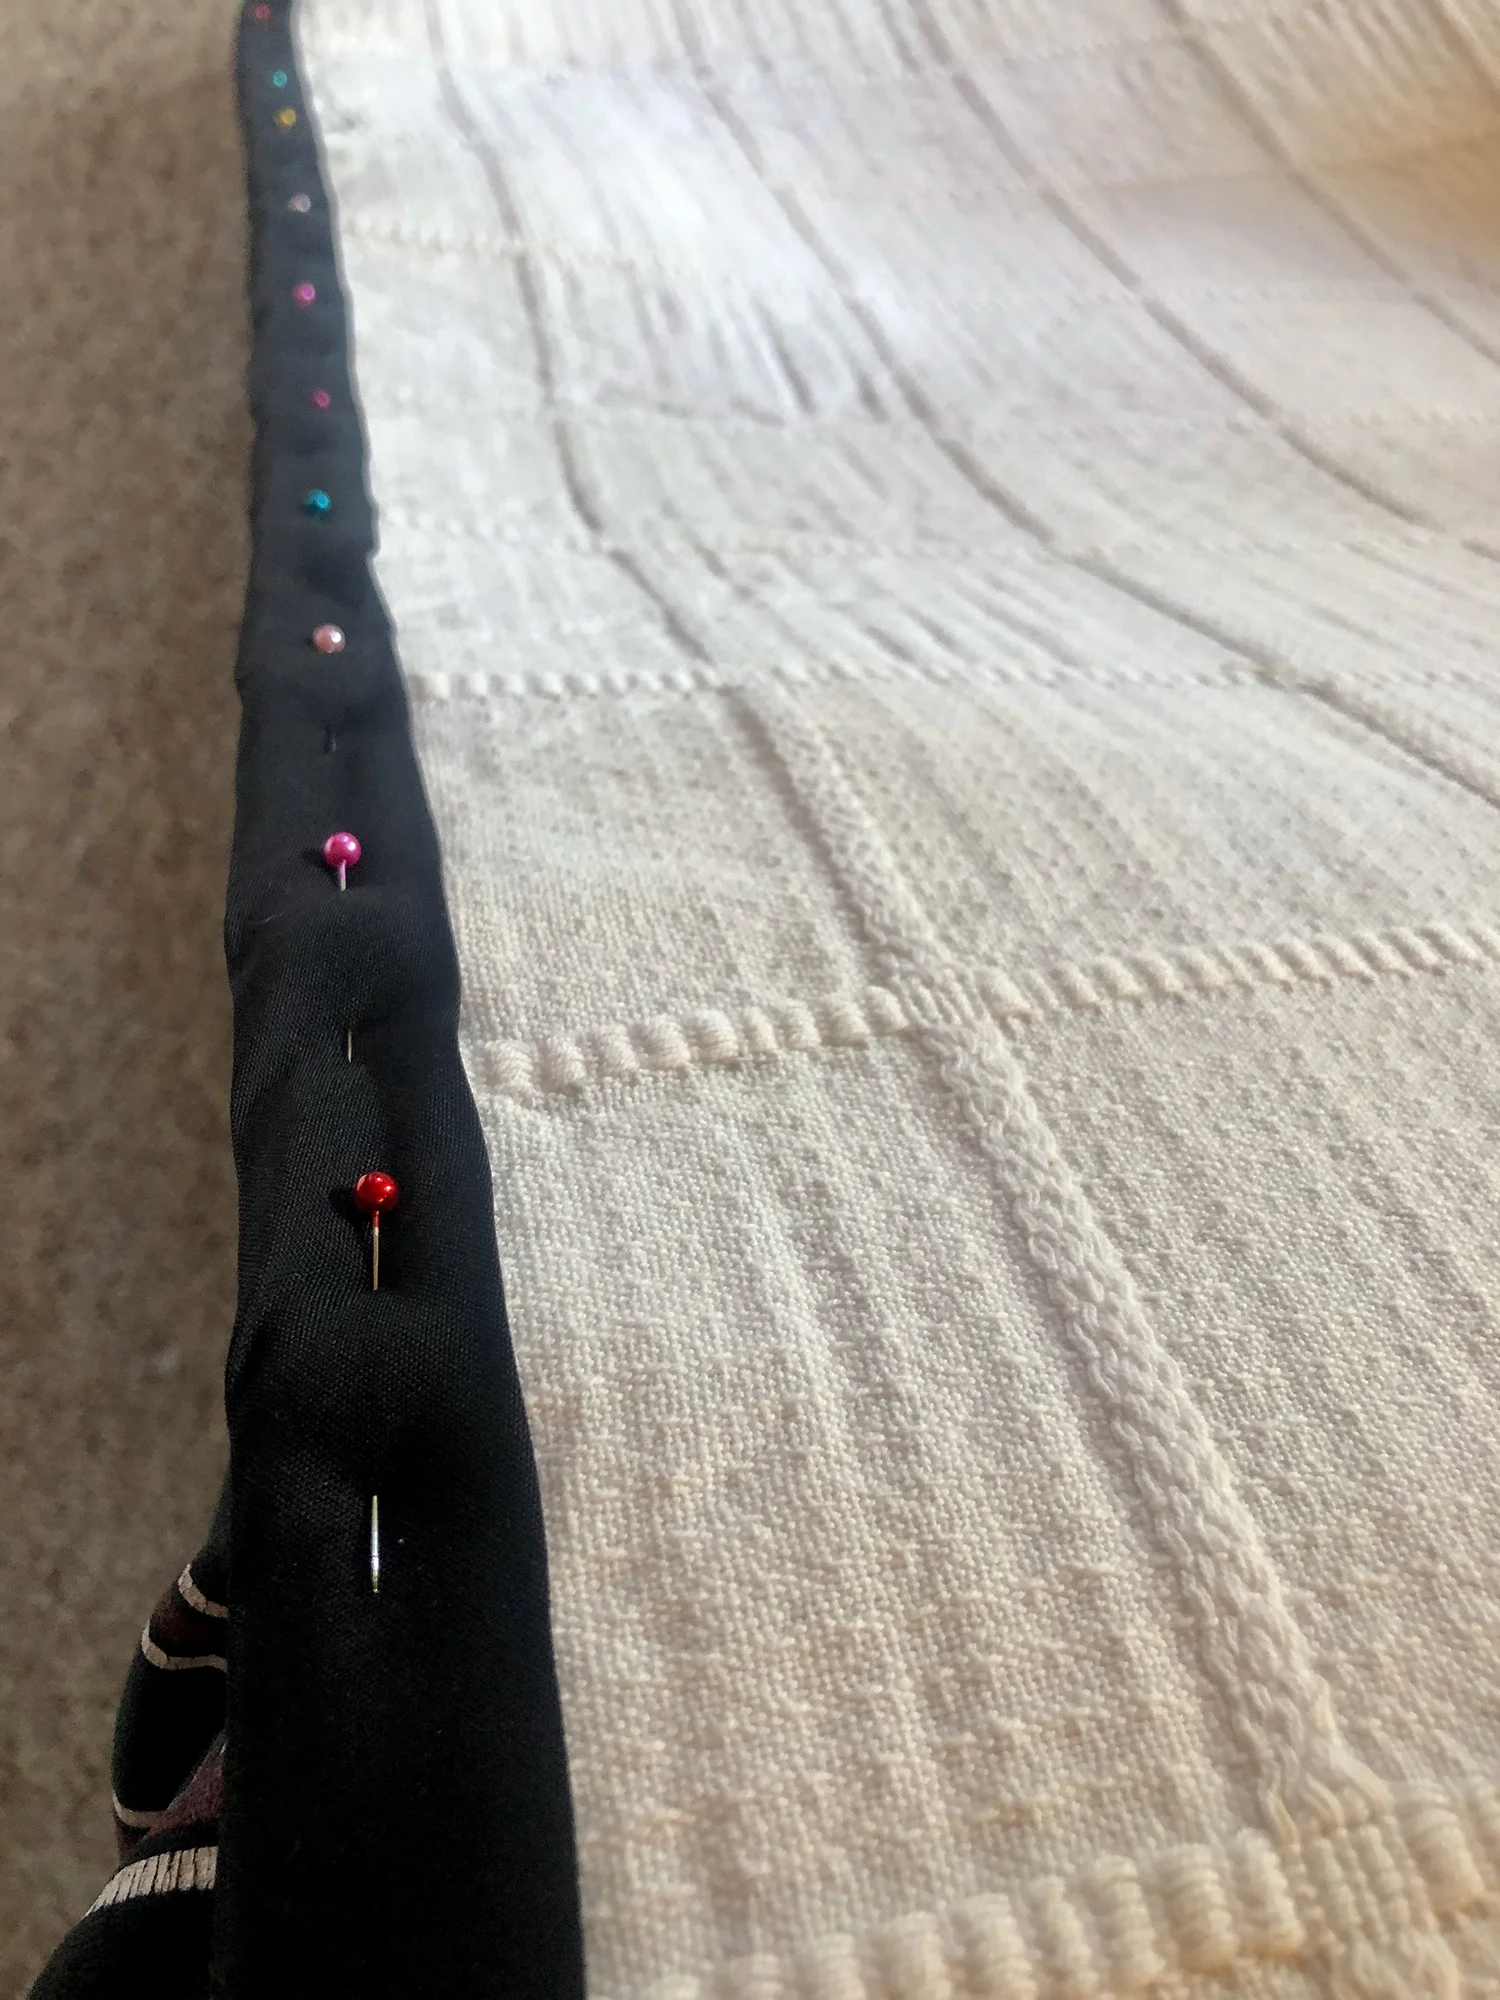
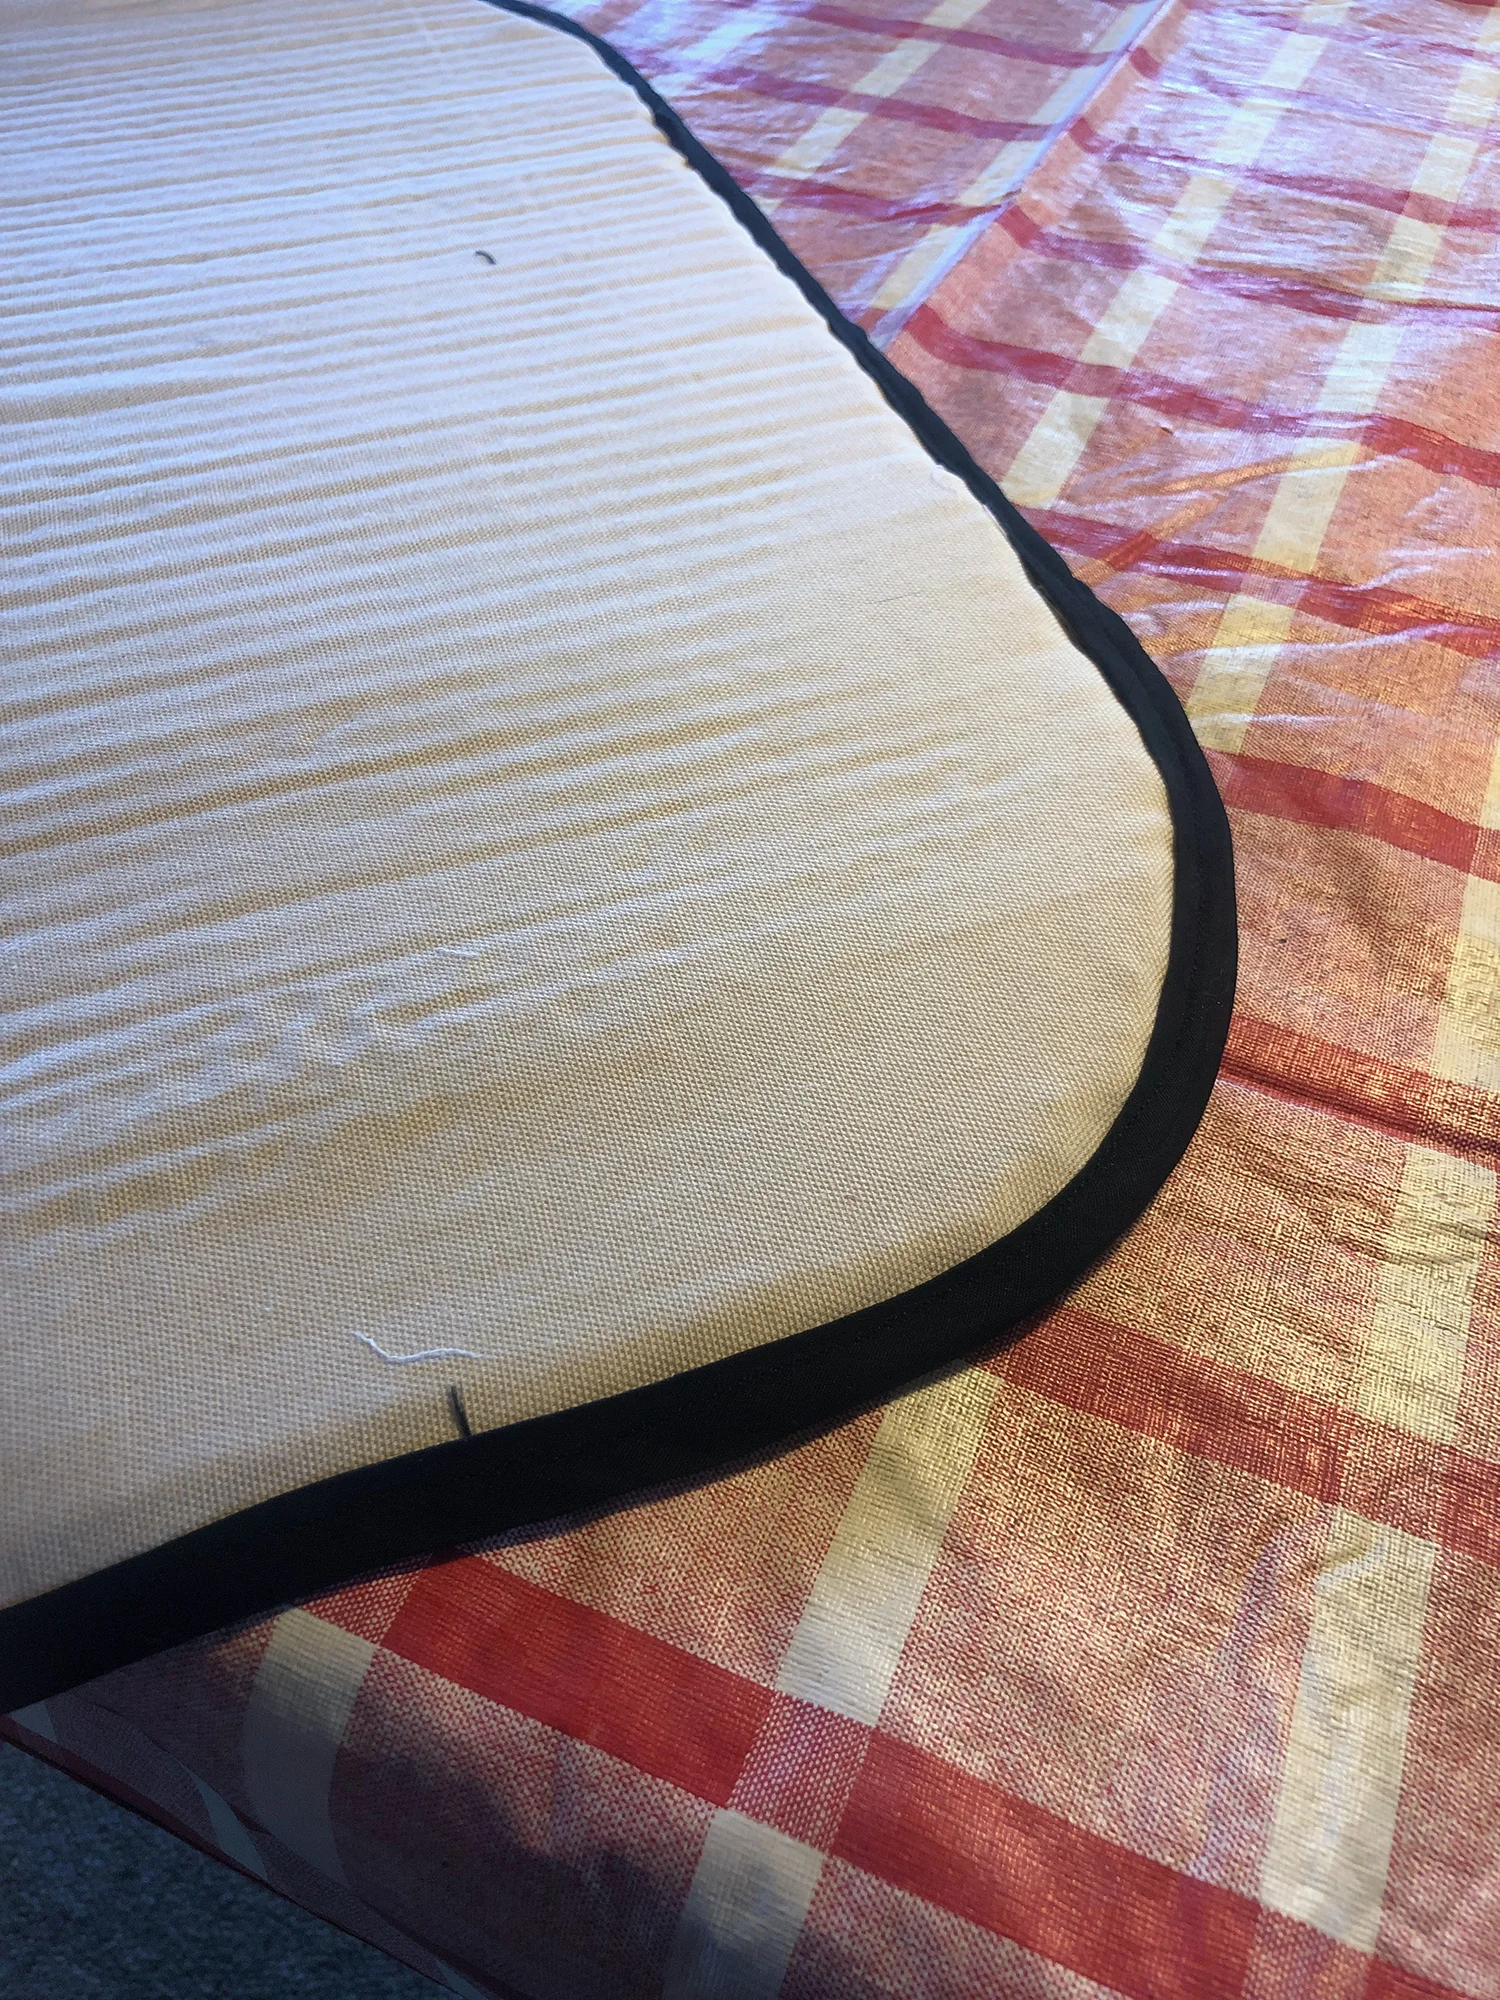
Next we added the bias tape around the edges and pinned all 4 windows before starting to sew. This was one of the most time consuming steps!
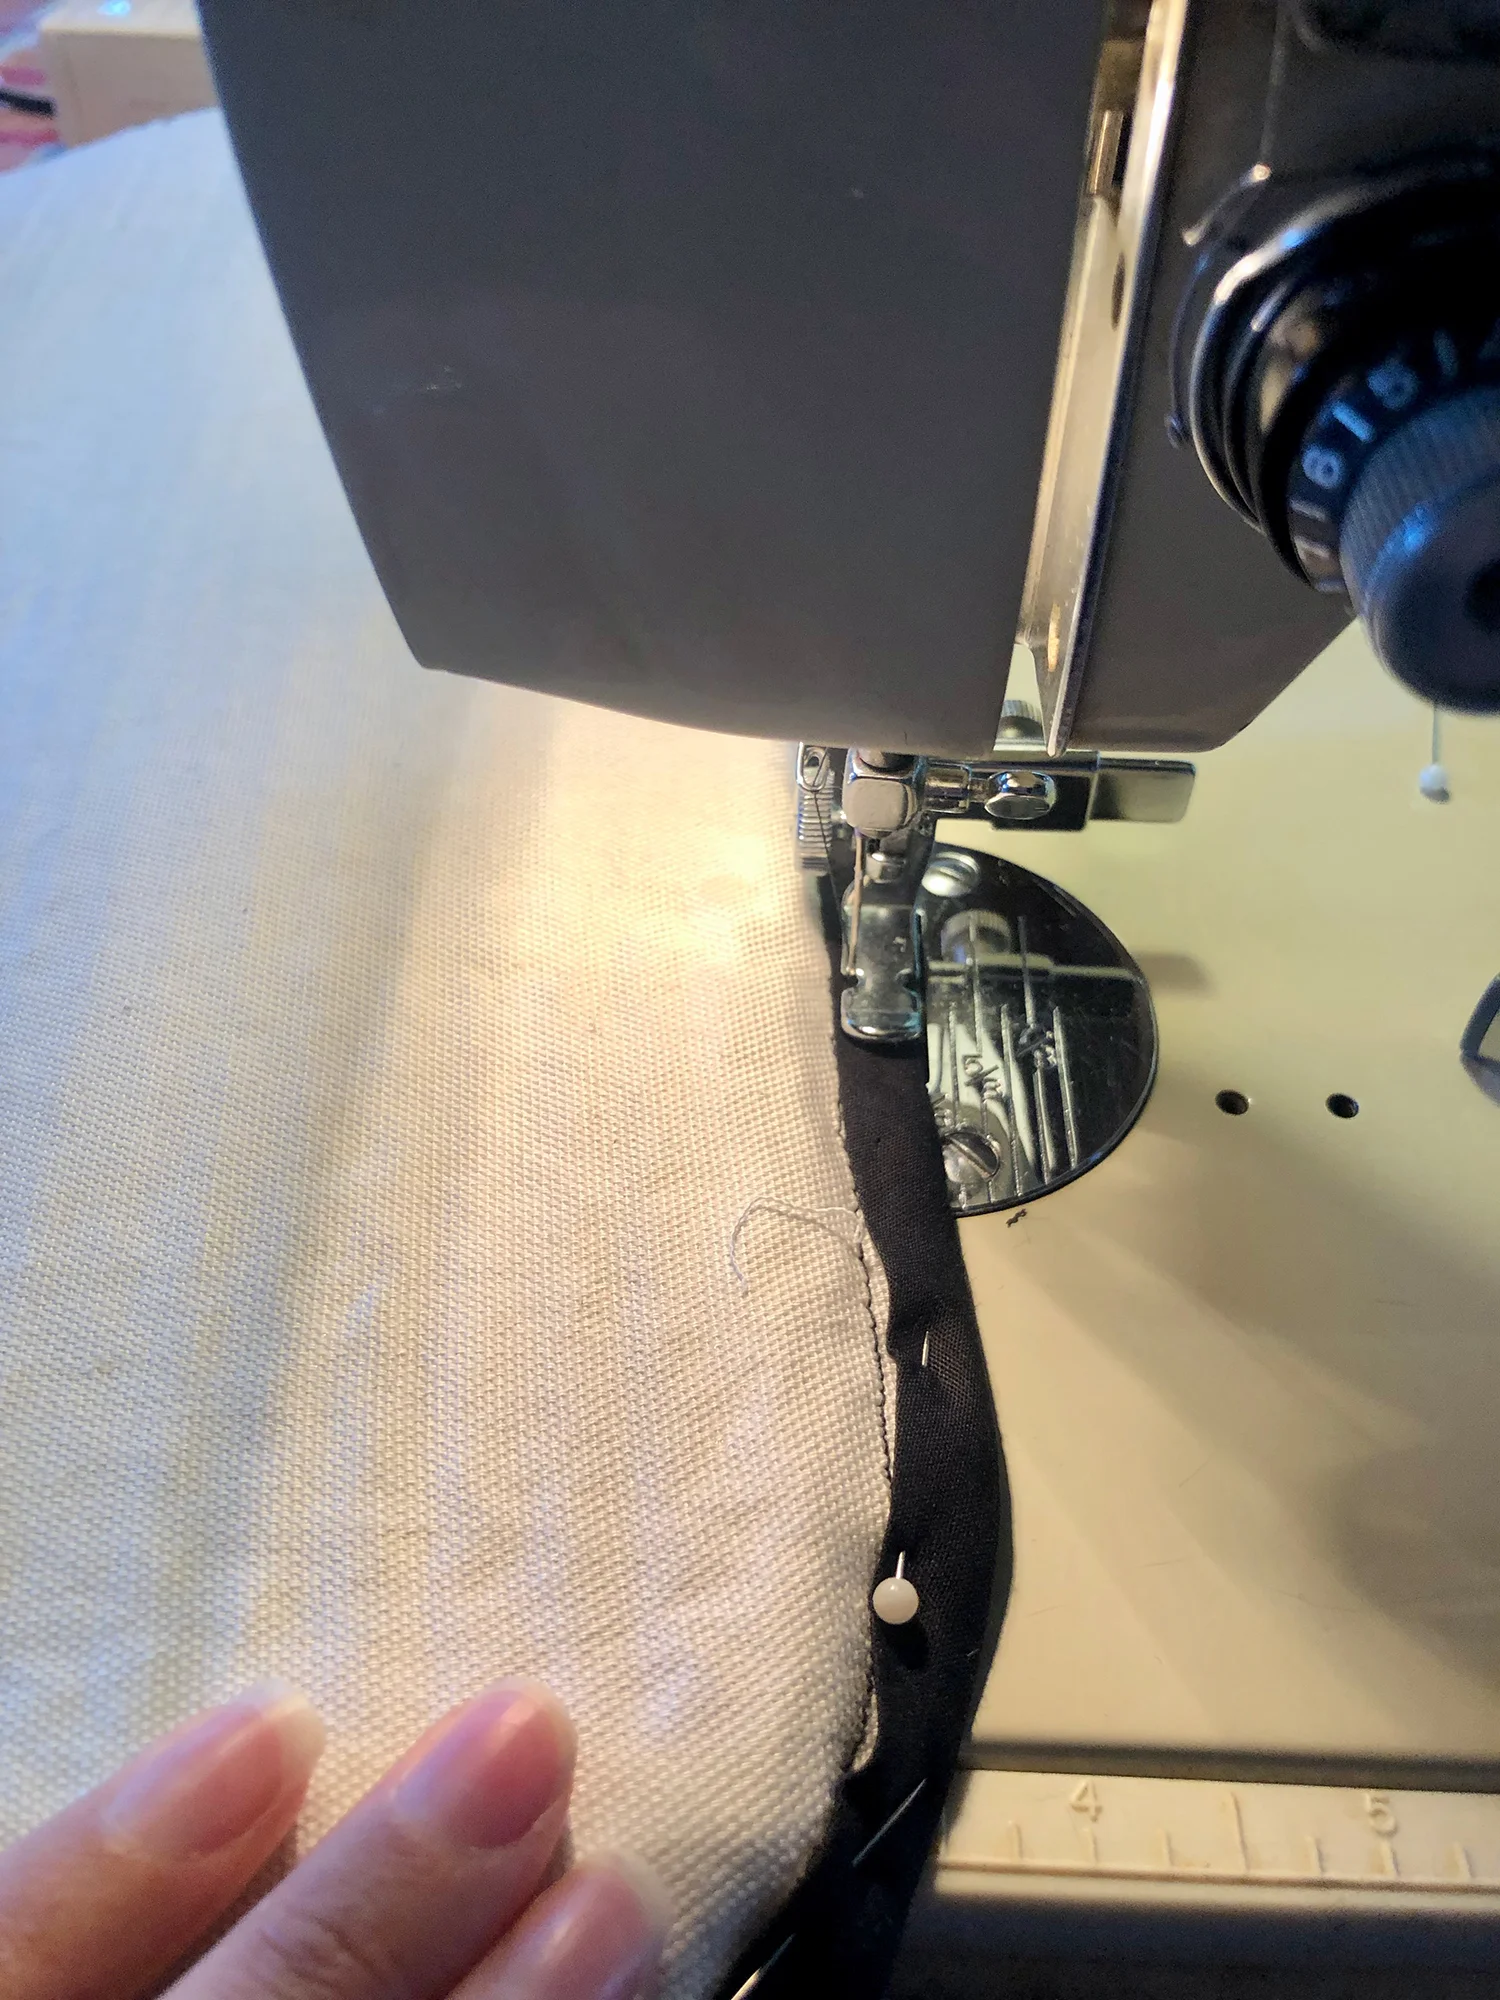
Step 6: Start Sewing!
Finally! Slowly start sewing the edges. Make sure you aren’t too far in from the edge of the fabric so that it looks nice but not so close to the edge that it doesn’t catch. We ran into this issue a few times and had to go back and touch it up. Be sure to start sewing, make a back-stitch to lock the thread in and then begin sewing again.
We also recommend heavy duty thread! I probably had to rethread the machine at least 20 times!
Step 7: Make Magnet Pockets
There are a number of different ways you could go about this step. You could use long magnets that get sewed into the seam, or velcro (although we don’t recommend it because heat will melt the glue), or loops and nails if your van windows have wood instead of metal.
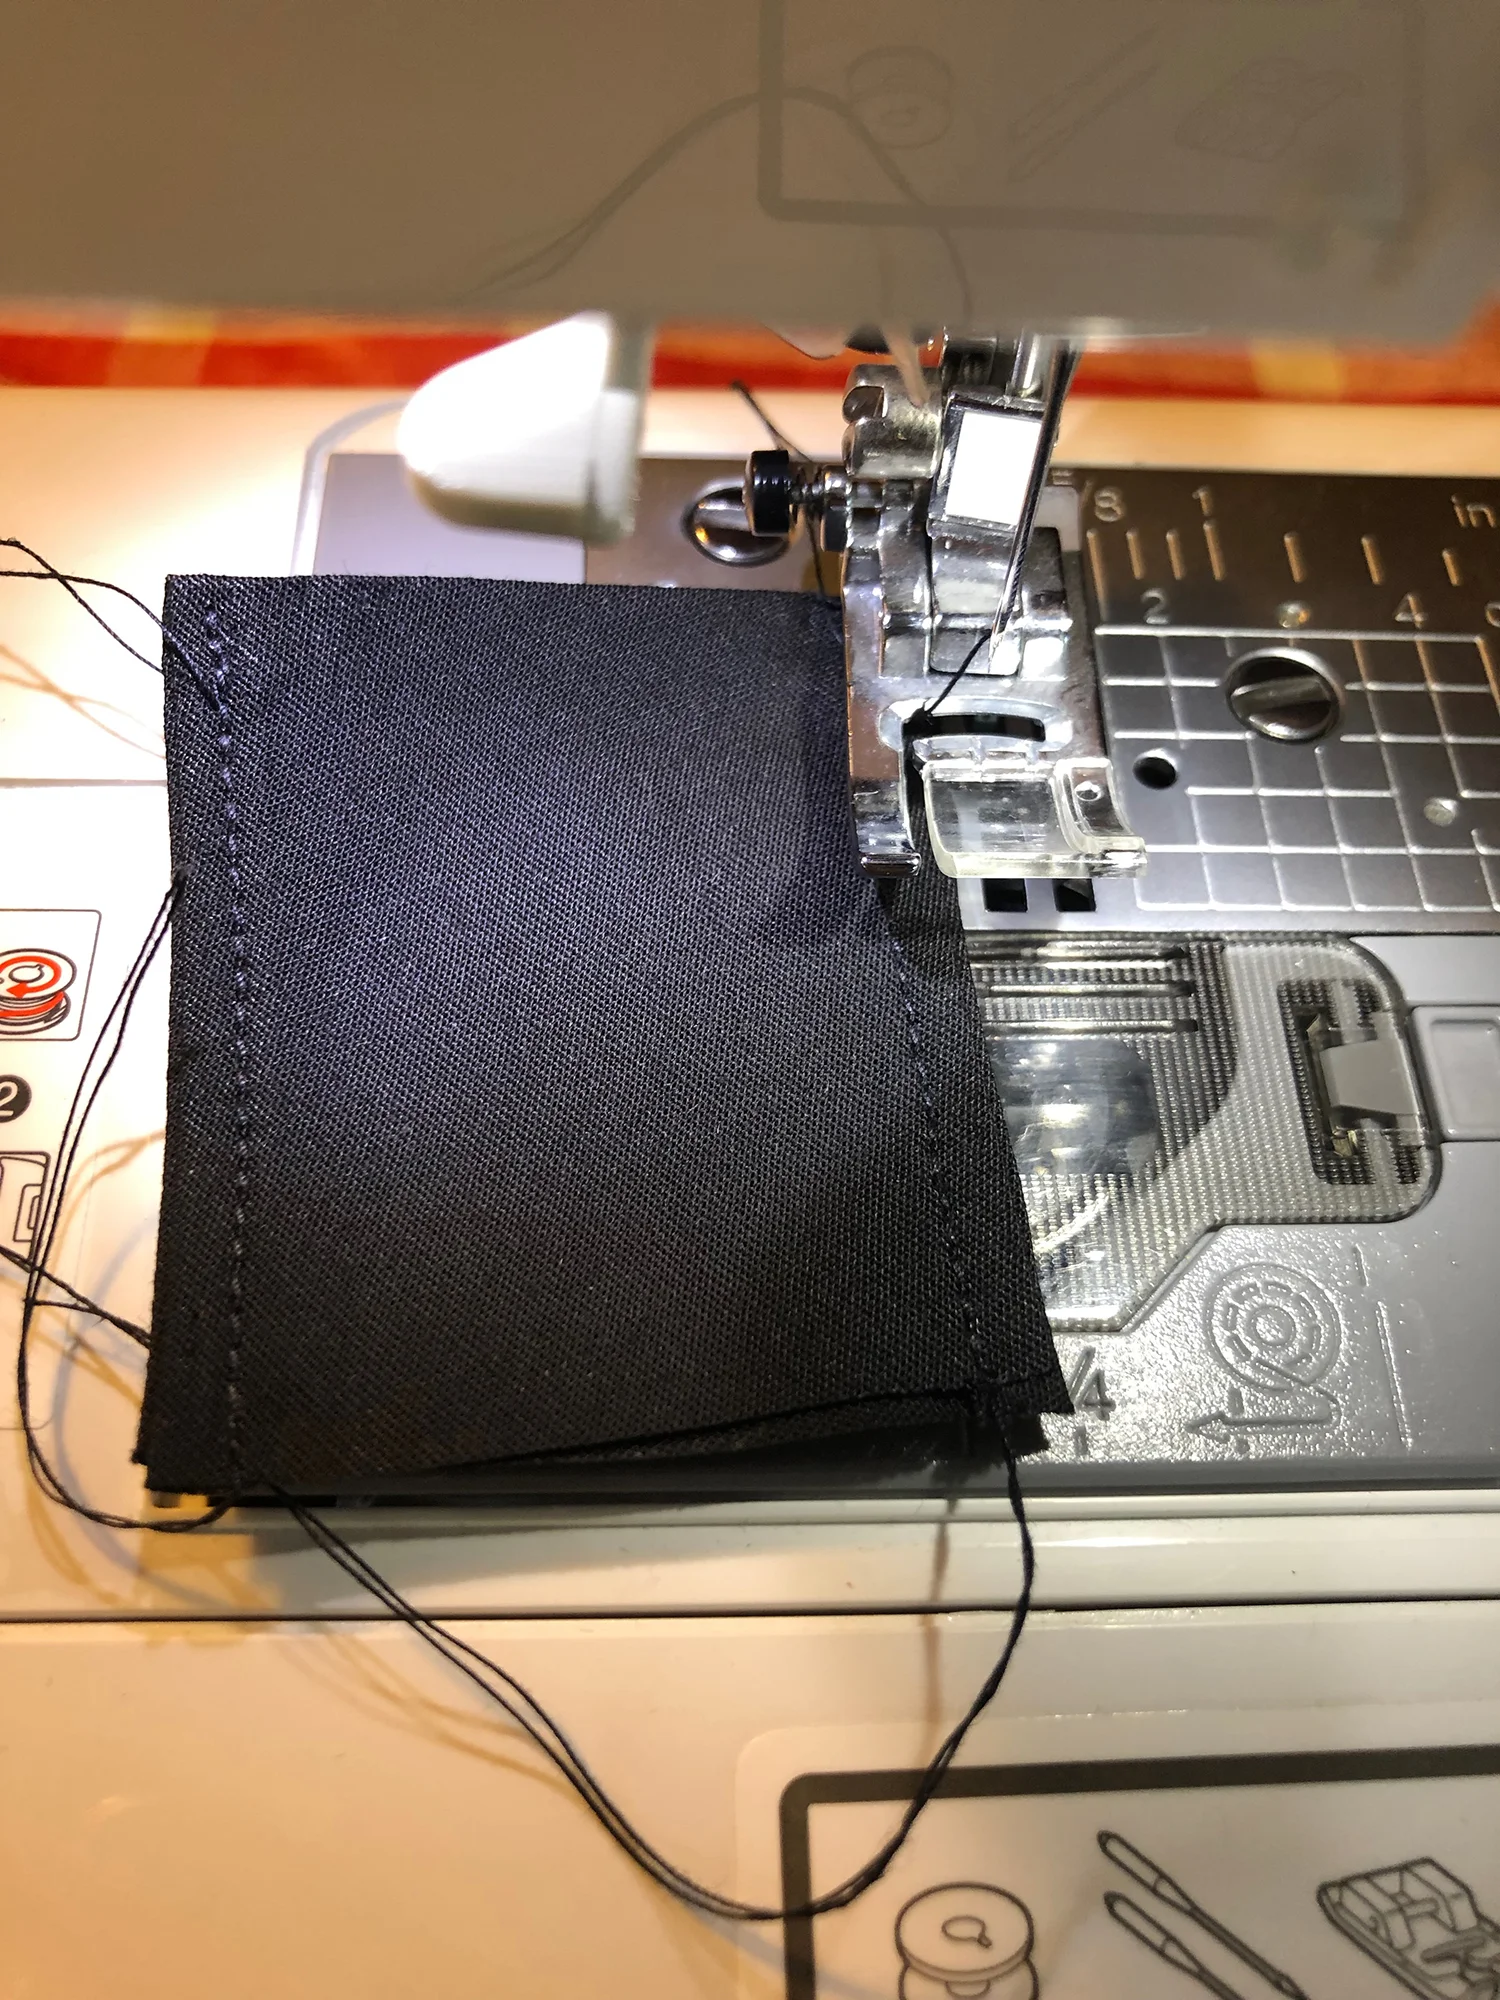
We decided this was the easiest and most efficient method. Use the wider quilting tape to make your magnet pockets. This was also time consuming since we had 40 magnets! We made each pocket 5 inches and then folded them in half and sewed down each edge leaving the bottom edge open.
Next, we attached the sticky backing that comes with the magnets and slid them into the pocket.
Step 8: Sew the Magnet Holders onto the Window Cover
First we used binder clips to hold the magnet holders in place and then carefully sewed them one by one. Again, time consuming but worth it!


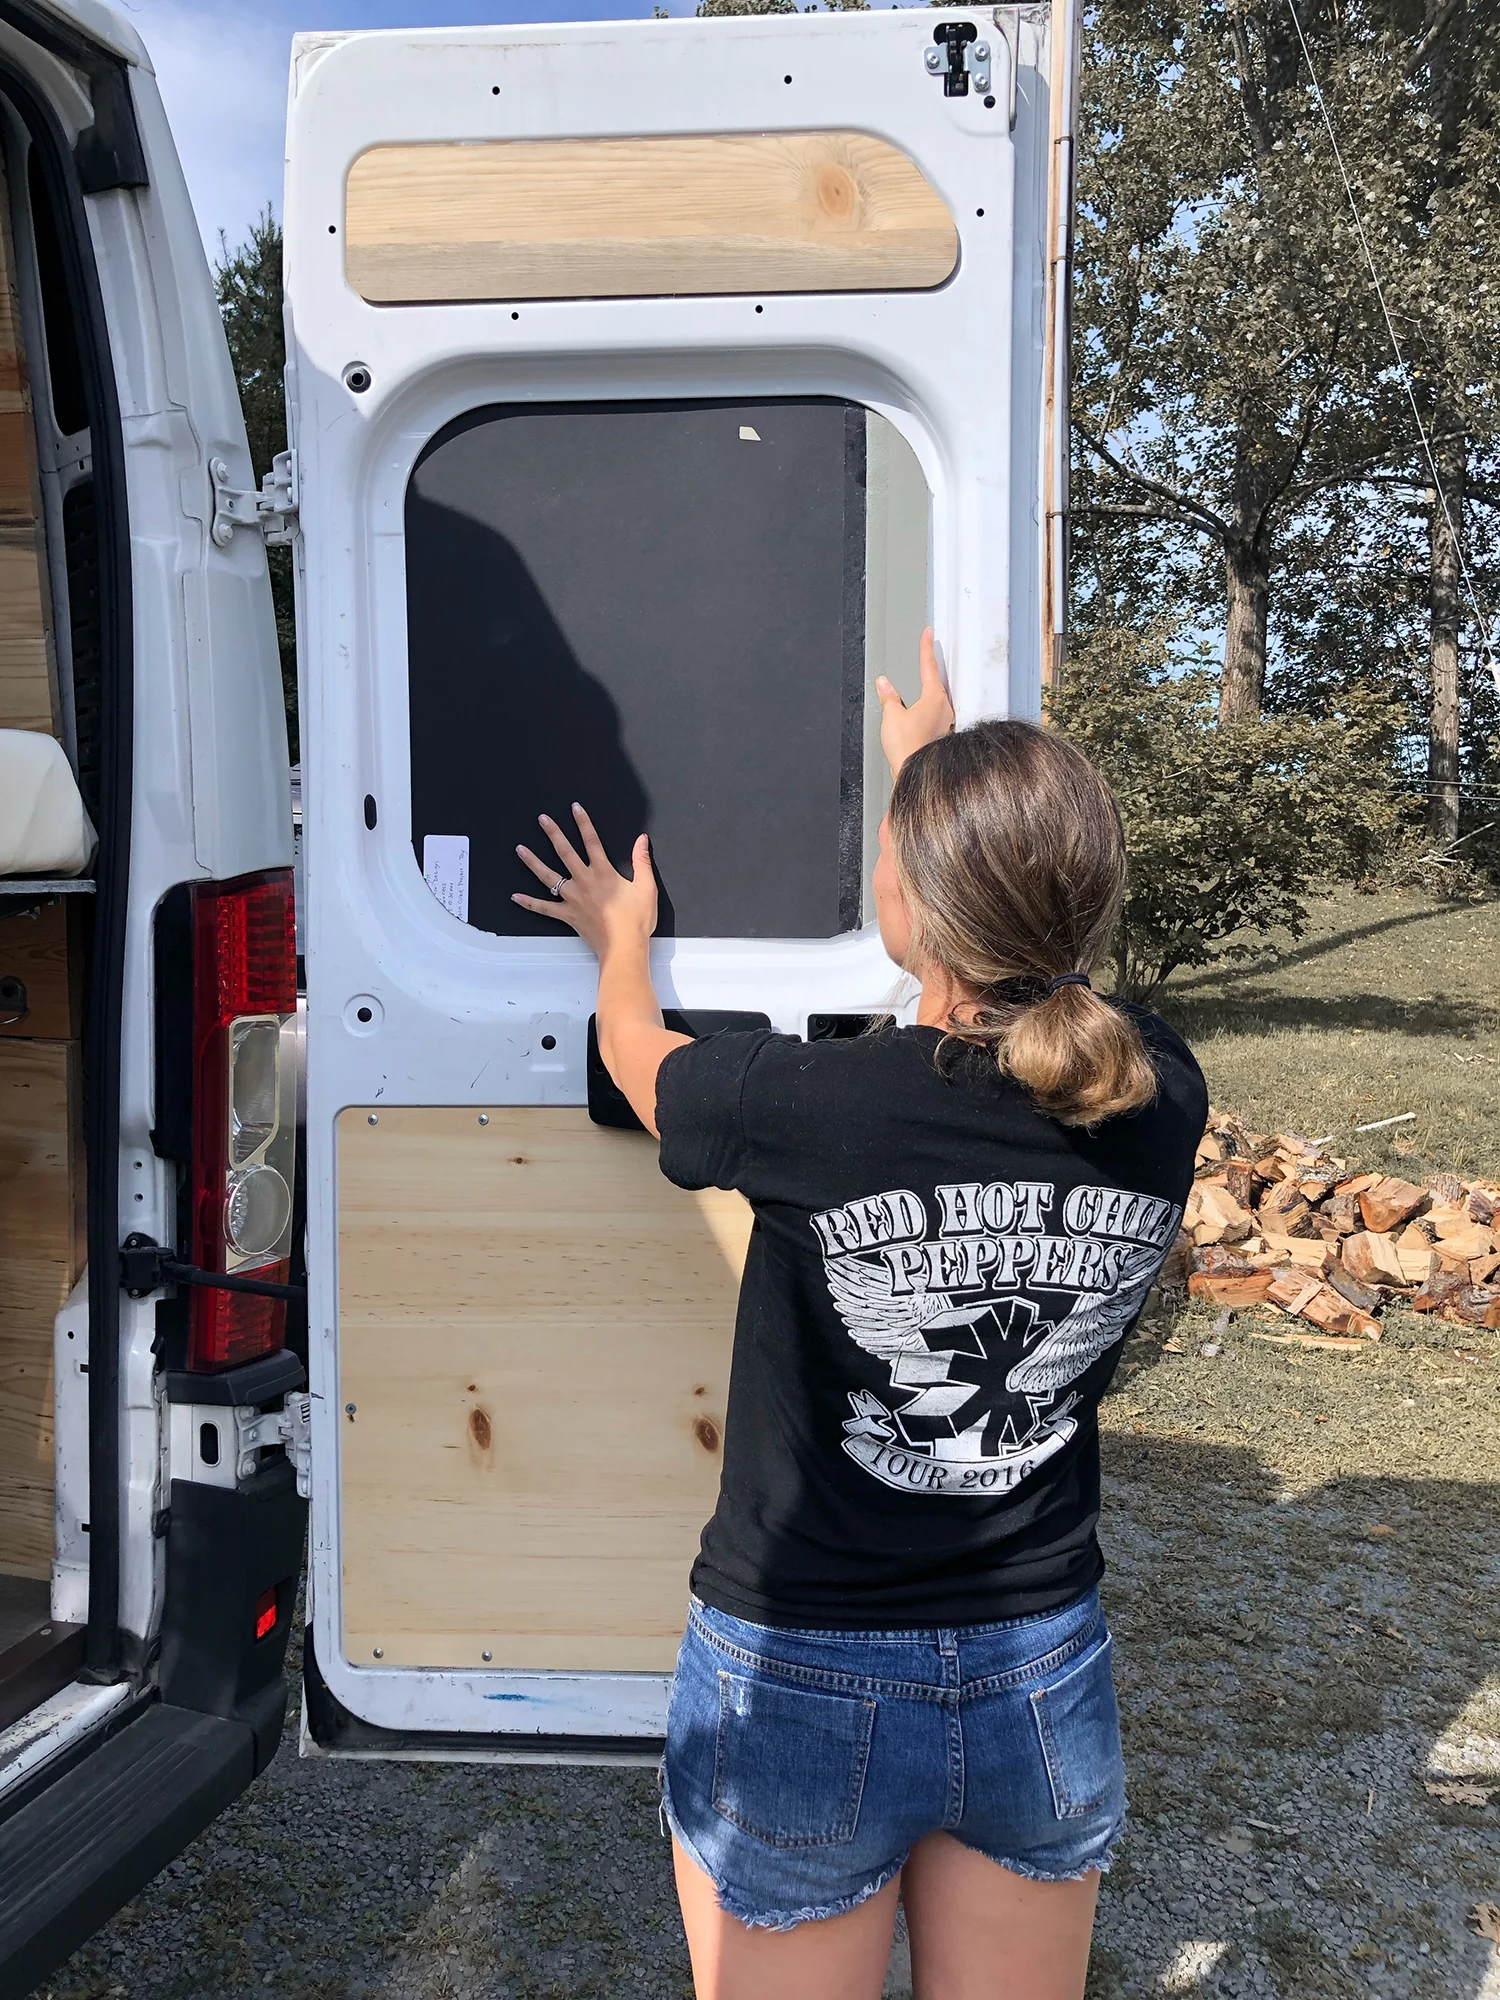
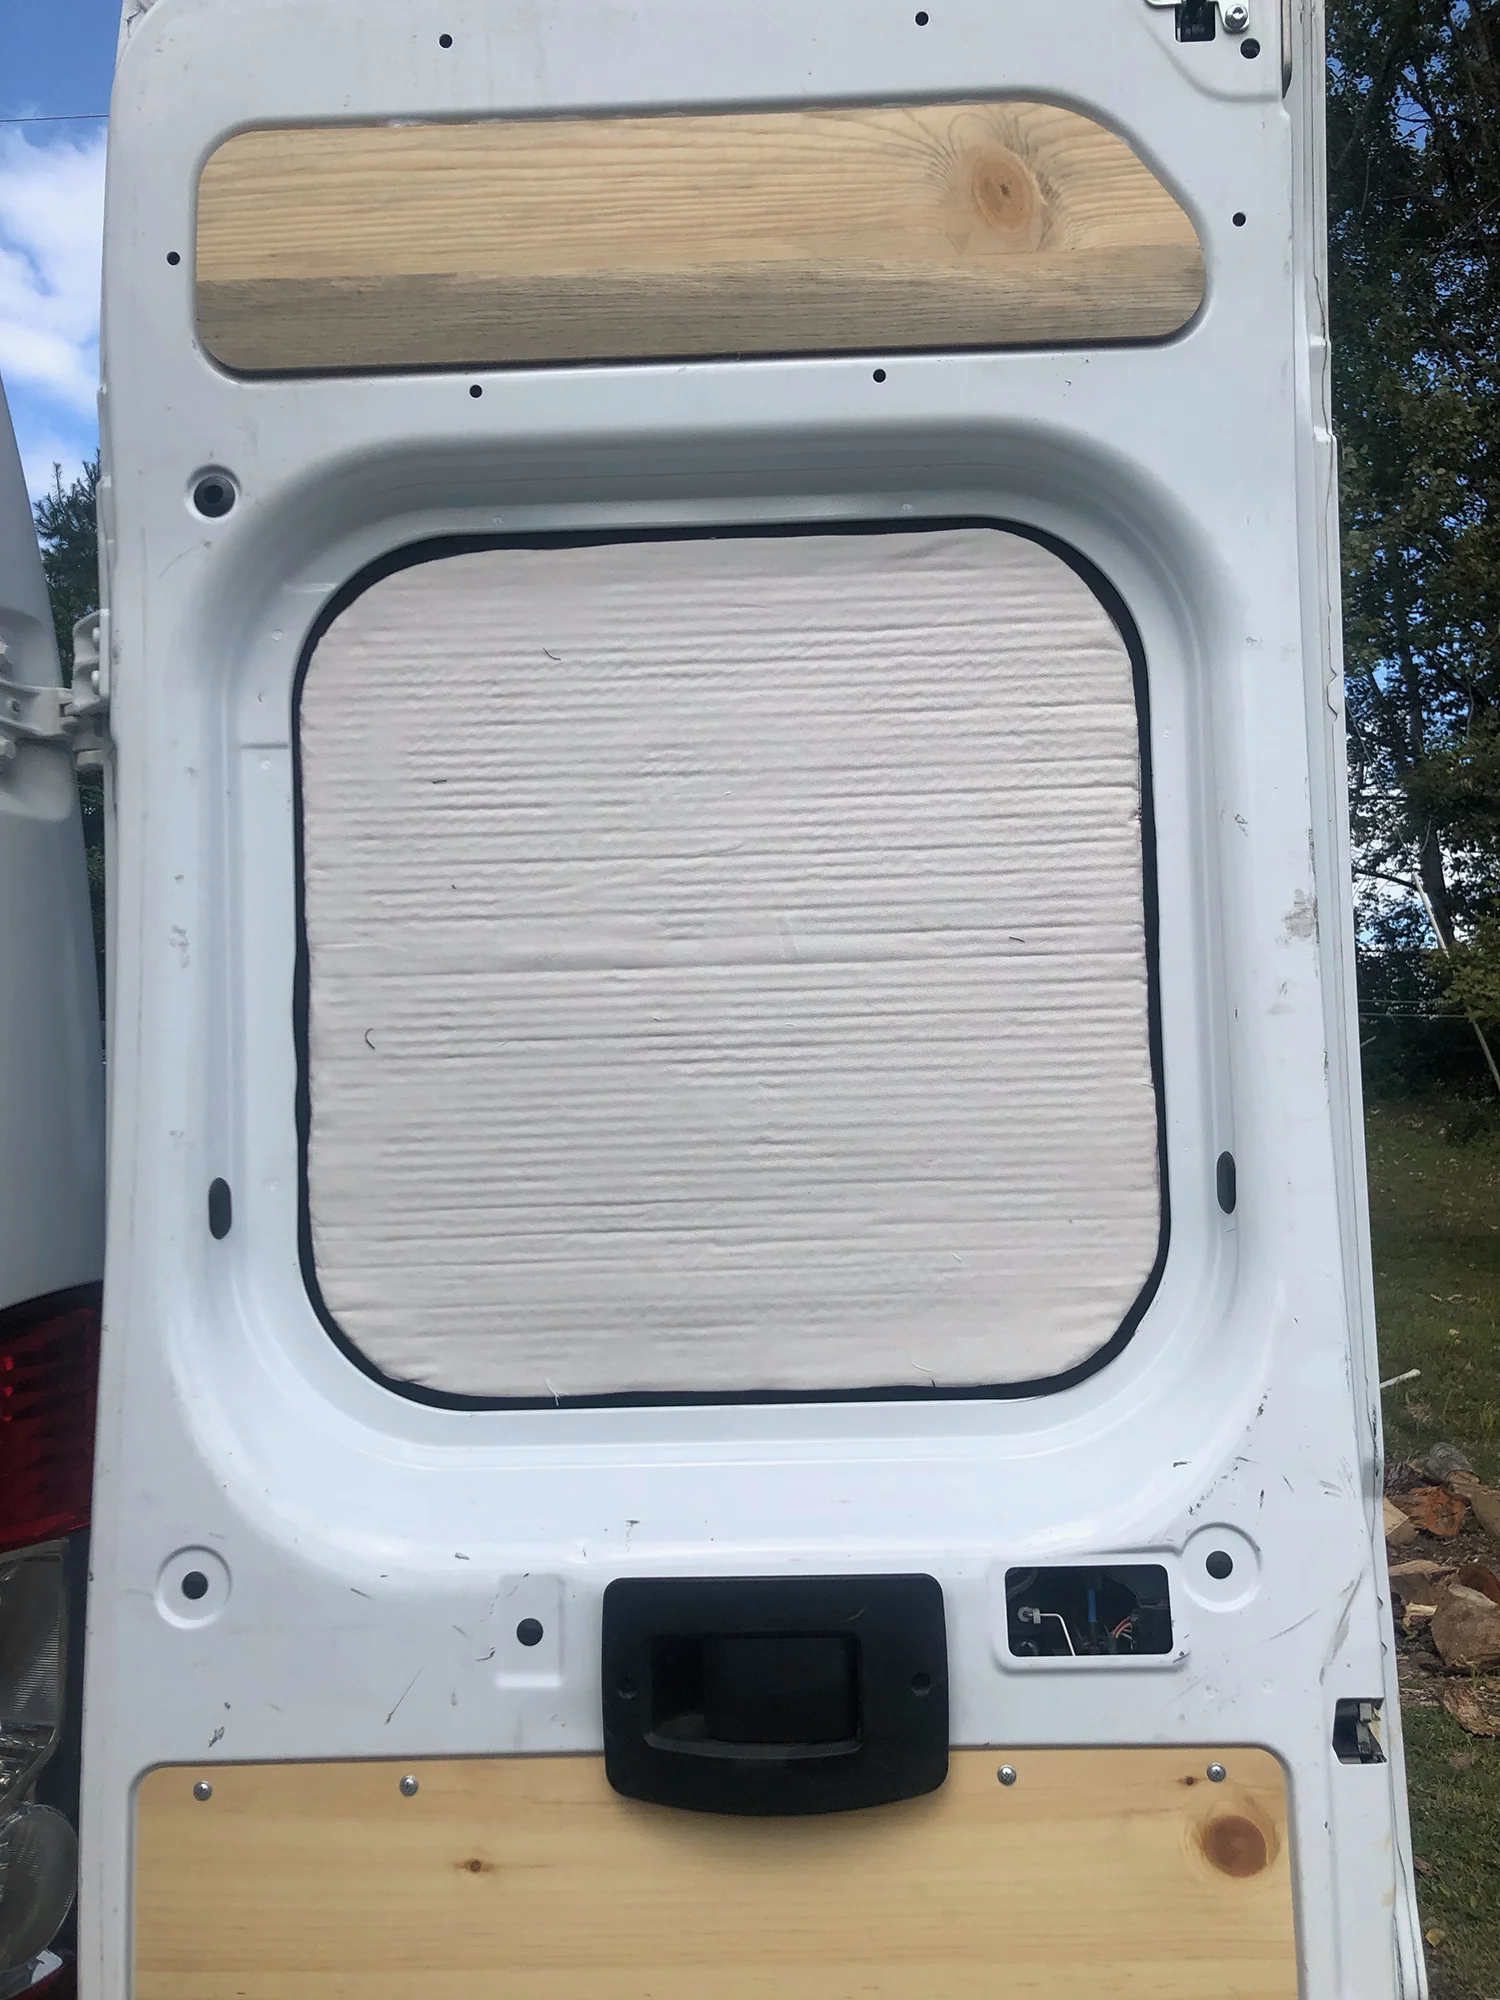
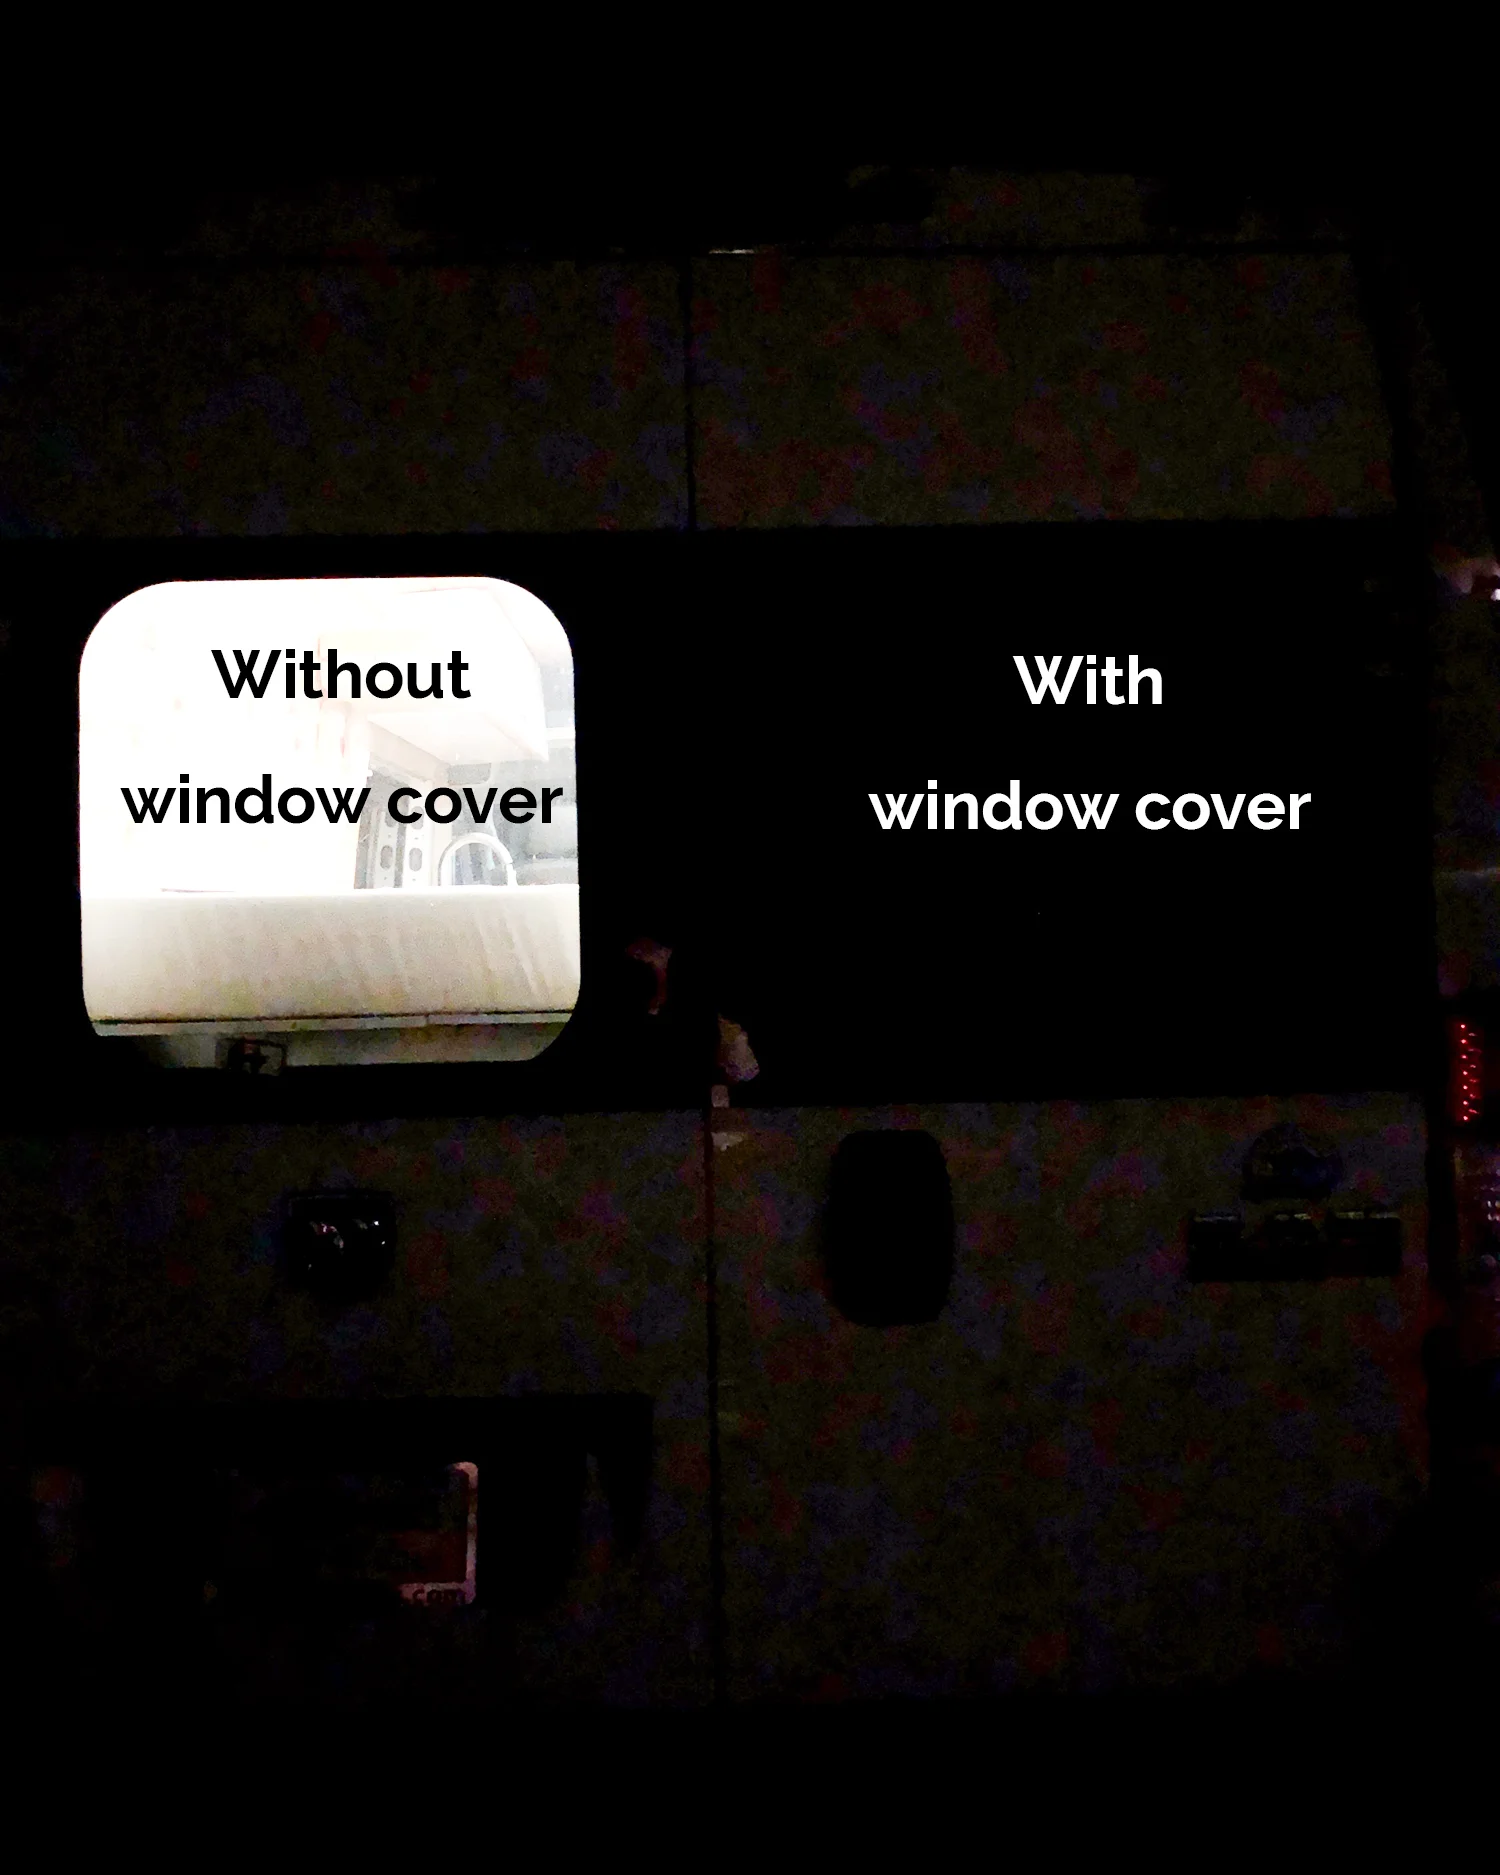
Here is the final result! On the left is before the magnet holders. In the middle is the final result and on the right you can see that these actually work!!

As you can see, this is definitely a time consuming project and may just be worth spending the money on the covers. However, we love the fact that we saved $900, had some quality bonding time with my parents, and created these all on our own!
See you on the road!
- Anna
This post contains affiliate links, which means that if you click a product link and buy from the merchant, we will receive a commission. The price you pay remains the same.
By using our link you’re helping to support us and is way of saying thanks if this post helped you! This also allows us to continue to produce useful content!